Hard Ops 8: Polonium (P4 Update)

Hard Ops 0084 can only be used with Blender 2.78 and above.

There is also new WIP documentation.

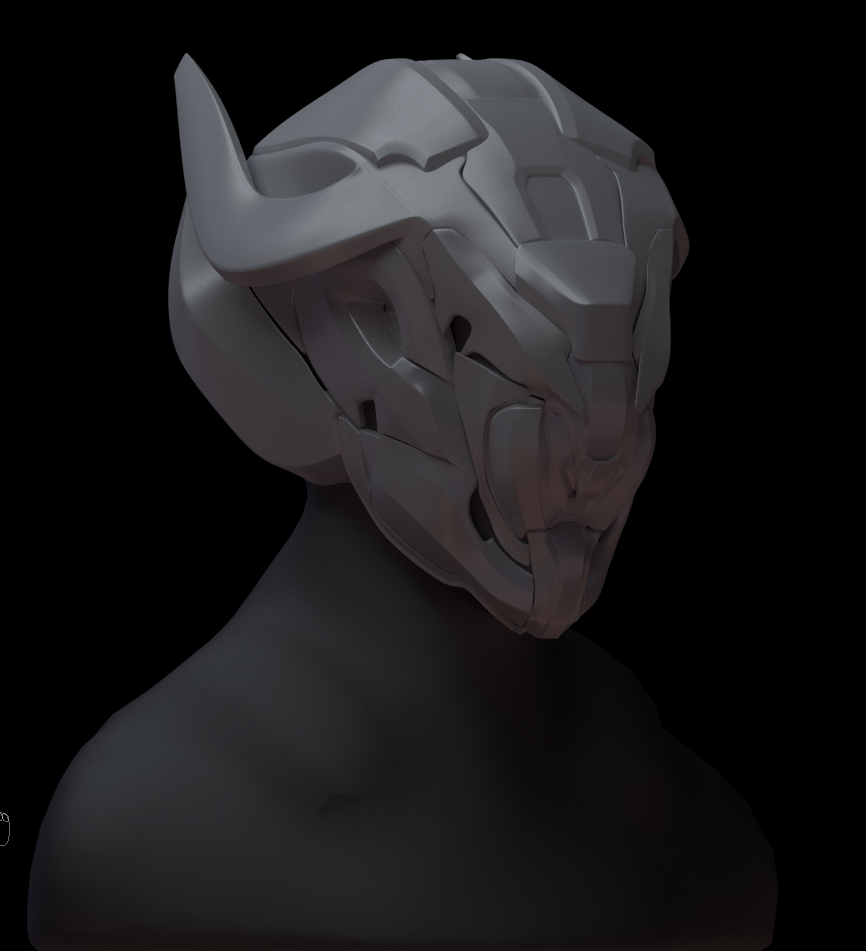
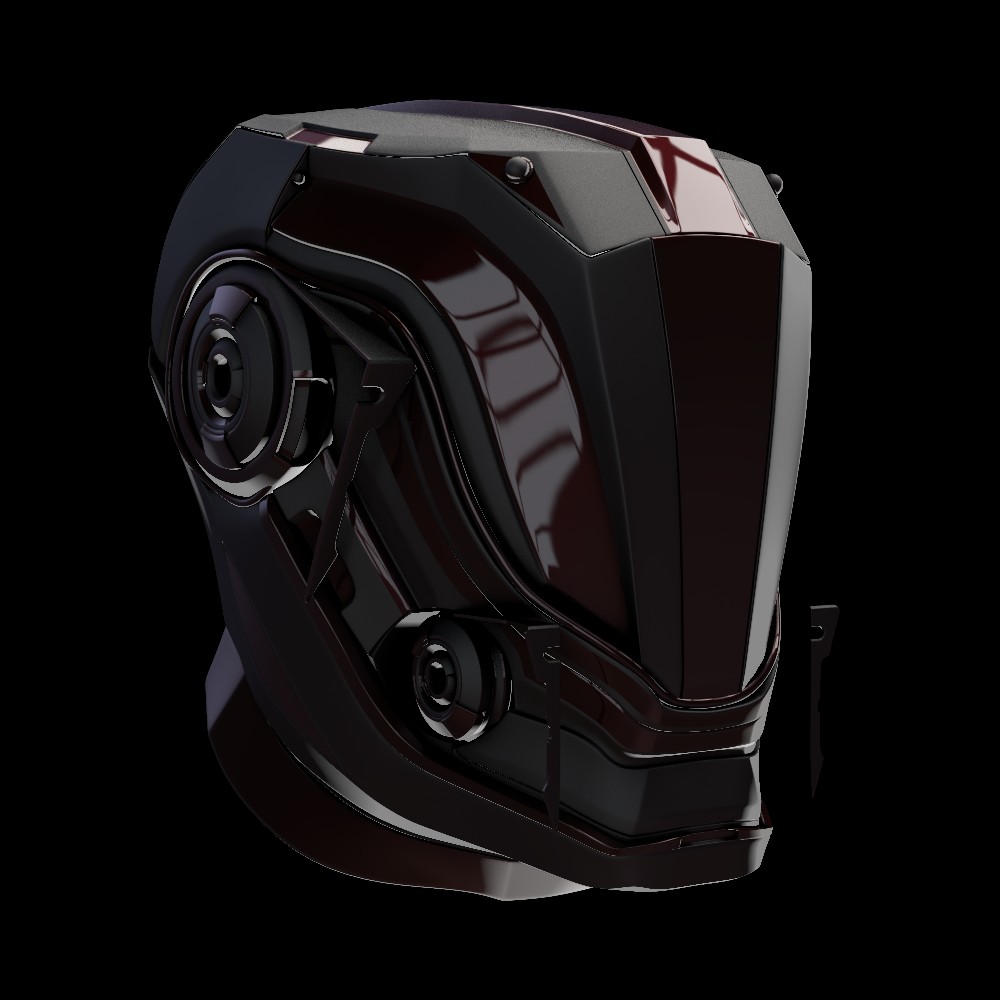
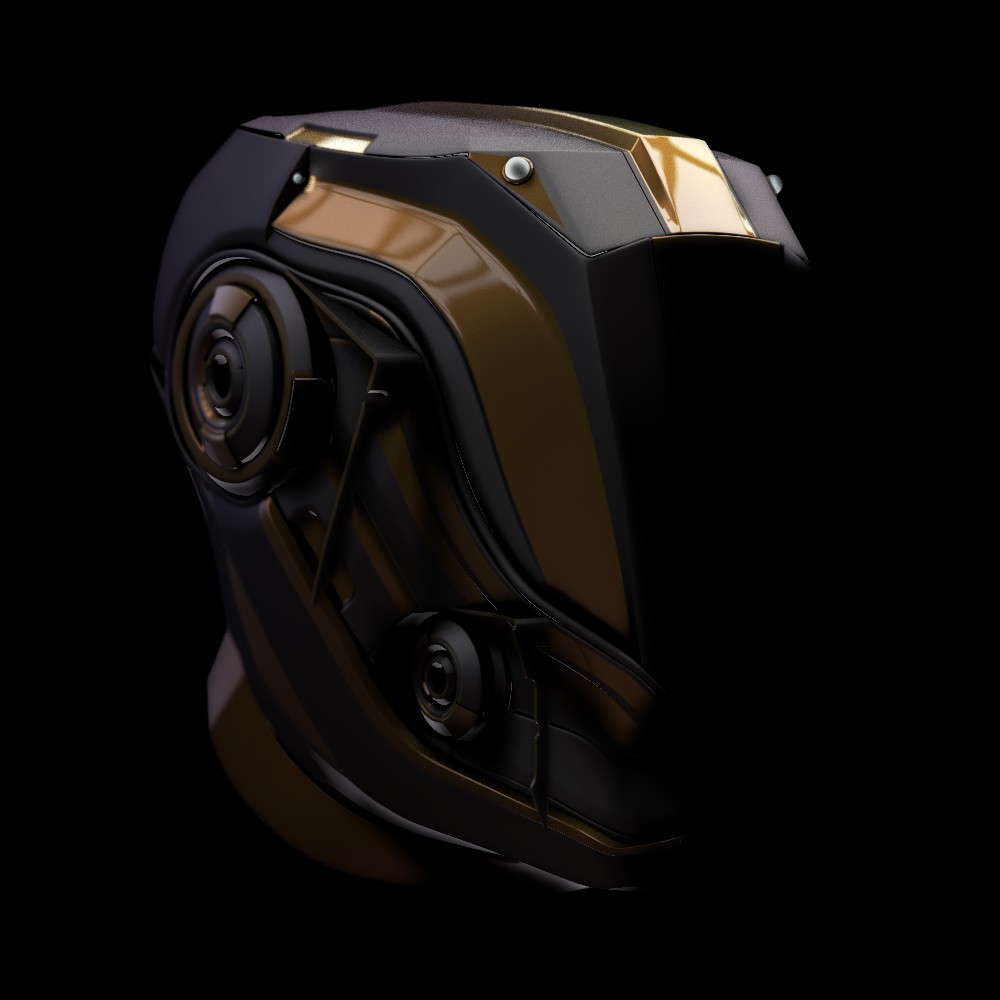
I also made an art dump of all the stuff I made using Hops8.

Hard Ops 8 has been the longest release of the series and continues even now as we use this number to focus on enhancement and stability.

As Blender 2.78 gets closer we also try to refine this version for public consumption. With some internal changes glitches can be expected but we are working to resolve them. Currently it is still in testing stage and is the top file of the Gumroad at this moment.

As issues are being reported and resolved and 2.78 comes closer it will be on the BM as well but once 2.78 is out.

Machin3.png

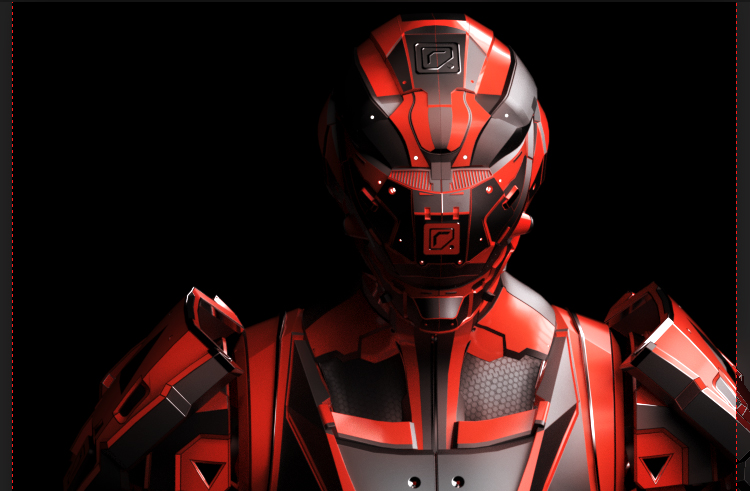
Kudos To MACHINƎ for allowing his drone to be the ad for this version. He is also selling it as an asset. I recommend giving it a study if you’re interested.


B2(1).jpg

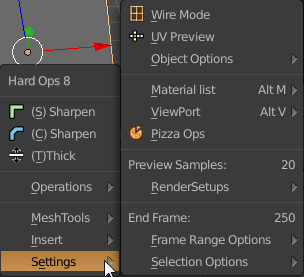
A series of additional menus and panels have been added. The center and foundation of Hard Ops has always been the Q menu. In time I am sure we will no longer need the shift + Q hotkey and the pie and menu will toggle from the Q hotkey.

Sculpt Mode now has a Q menu.

2016-09-12_18-32-48.gif

In it’s current form it also has the view port menu attached which means if you choose matcaps as the option that matcaps will appear as an additional box.

In fact in the Q menu if you go into Settings >> Viewport the same functionality also exists.

2016-09-12_18-35-12.gif

Alt + V also brings up a viewport menu in object mode. This was just an experimental feature that was added that grew on me as I used it more and more.

2016-09-12_18-36-43.gif

Cameras also have a Q menu. With handy options.

2016-09-12_18-38-43.gif

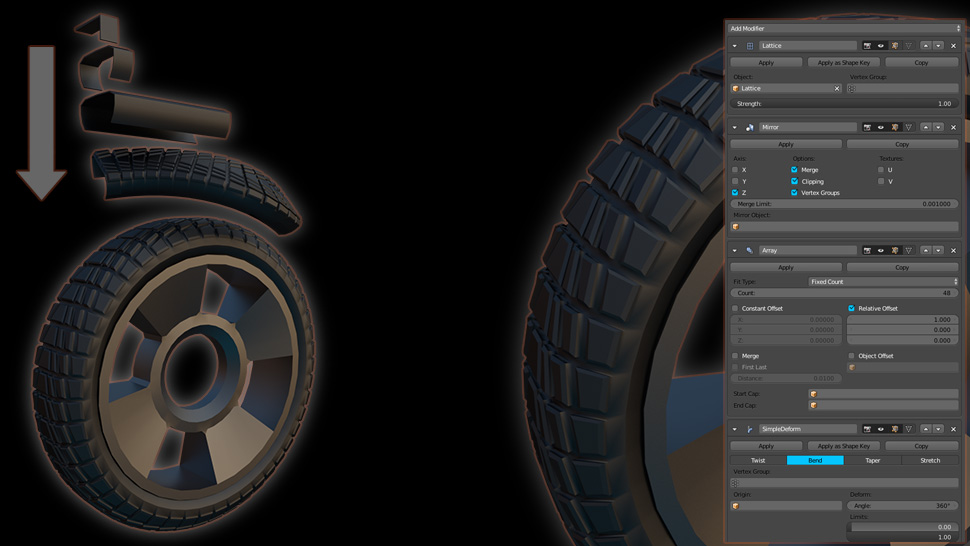
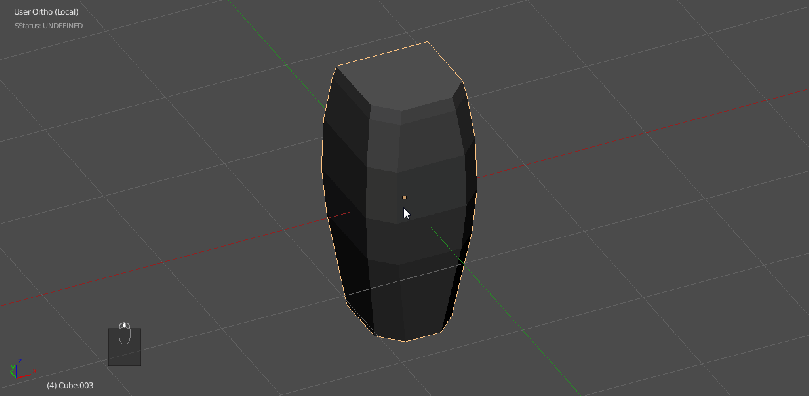
Lattices also have a Q menu. My favorite is simplify.I use it to reset lattices to their simplest points and start over with deforming.

2016-09-12_18-41-40.gif

Alt + M brings up a menu of all the materials in your scene for fast assignment. This is for object mode of course since edit mode would merge geometry. This is also experimental but has proven useful recently.

2016-09-12_18-43-49.gif

In preferences there are additional properties for the HUD and how long it displays. That way you can adjust this to your liking.

2016-09-12_18-46-49.gif

Merge has also been updated a bit. While it is still being worked on we examined the naming and decided it was best the way it was.

When you select an AP and the mesh to merge with you have 2 options.

Soft Merge – merges with mesh while keeping it live. This allows for tweaking then for completion just select the main mesh and choose Q >> Csharpen.

Complex Merge – merge and is done. Places the OB. Deletes the BB and the AP. This is the option I would normally use.

2016-09-12_18-48-51.gif

So it’s just Cmerge and Smerge. In addition to this the inserts are being expanded with new ones for users to have fun with.

Mirror Mirror now mirrors across any object not just meshes. This is similar to the original mirror mirror and was a mistake on my part.

This is useful because sometimes I mirror across an empty. As a recap mirror mirror has been internalized into HardOps so the plugin is no longer needed.

2016-09-12_18-53-39.gif

Settings menu is a little cleaner. We discuss all the features often and what can be removed / enhanced / etc. All the remaining functions are near and dear to me even if the other teamsters don’t even use them.

blender_2016-09-12_18-55-49.png

CSplit / CSlice now behaves better. If a mesh isn’t beveled you can slice and it will respect that. This has also carried over into box cutter and it’s behavior with unbevelled meshes.

2016-09-12_18-58-00.gif

This can be handy for using the Cslice as a more utility function for alternate workflows. I like the fact that you can also use the status reset and then have cuts ignored by bevels.

2016-09-12_19-00-12.gif

Q >> Meshtools >> Sstatus Reset is quite a useful option when used correctly. I am unable to explain all cases in which you would want to reset your mesh to dupe the system but it has come in handy on more than one occasion.

As this post has gone on I am keeping the best for the later part. Now that the boring stuff is out of the way we can go over some of the larger changes.

The T panel has underwent changes again. This was done for stability and ease of use. There is also a learning tab added for new users. On a technical level this has made things more stable and it has a connection with the other menu systems with make it easier on us internally.

2016-09-12_19-04-39.gif

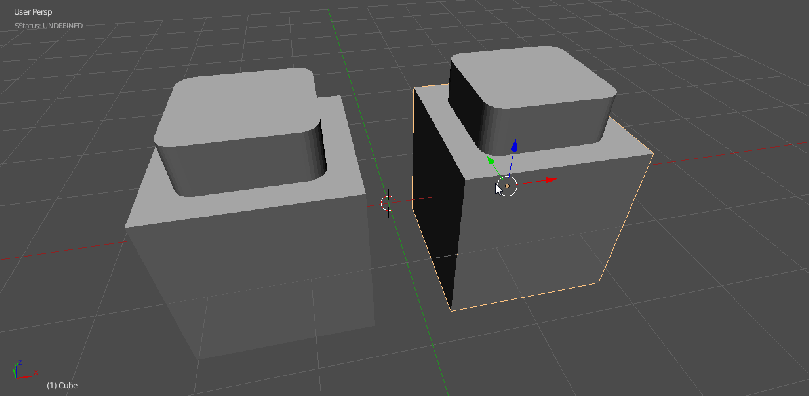
XUnwrap now behaves on multiple objects at once. I tend to manually unwrap hero items but for secondary stuff or quickies XUnwrap can be useful for quickly getting a mesh out to Substance Painter or a game engine.

Select your objects and press Q >> Meshtools >> Xunwrap

As you can see through the uv preview that both pieces are placed uniquely on the same UV space.

2016-09-12_19-08-21.gif

2d Bevel was an idea based off of the mesh cleaner for bevelling 2d shapes. I must add… DO NOT USE ON 3d SHAPES . If you do that the results will be different. I must also stress the importance of modifier stack order as well with using this since it can have issues. I consider this an experimental feature.

2016-09-12_19-12-52.gif

In this example I used 2d bevel then Tthick to add thickness on top of the bevelling of the 2d shape. All it does it round corners using a limited dissolved mesh with a bevel set to only verts.

CleanMesh(E) is also a new feature that has been added. This will do a limited dissolve / remove doubles operation on the mesh. I cannot stress that this is for planar-ish meshes and will not give good results where linework is specific.

Also make sure you check pro mode under preferences to enable it. Since it is an experimental option.

2016-09-18_13-32-23.gif
Enabling Pro mode to see Clean Mesh in Q menu

Clean mesh will dissolve all useless edges. This can be useful for simplifying meshes for boolean operations.

2016-09-12_19-17-09.gif

This is something I think it’s best to experiment with and try out. It can be useful having useless edges dissolved when it comes to simplification.

These two videos have portions where I am experimenting with the simplification of the CleanMesh(E). Sometimes this can also make booleans easier to perform due to there being less errors. If you are using guidance loops for control then you may not want to use this on the main mesh but like I said use it at your own peril.

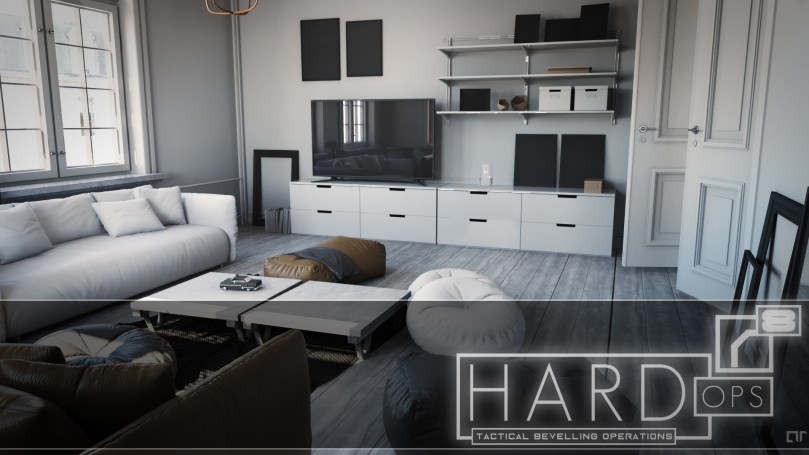
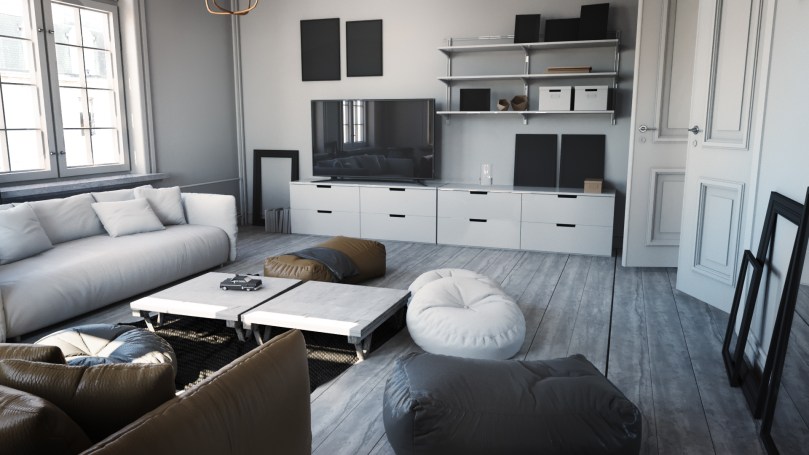
So with that I conclude this post and have fun operatives! Big shoutout to AR. He’s been down since the beginning and continues to be a big part in the shadows. He also rendered the apartment ad for HardOps.

loft2camera3ad.jpg

loft2camera3.jpg

Moth3r created the gun image which also was an Hard Ops ad.

Ivan(HSGun).png

As always it’s the operatives that keep this tool alive and kicking. I cannot stress how important it is to experiment with the tool and find a unique way of your own for using the tool. I often find people using it in strange and unique ways that get results far beyond even my expectations. Alot of the features I feel extend past hard surface modelling and are just the way I wish some things behave. It’s a understandable impression that Hard Ops is primarily a hard surface toolkit but it’s also a workflow assistant.

The WIP manual is always being updated. I will begin making it the final documentation for hard ops so please check on it occasionally for additional information on how to use the tool.

Inspired by Machin3 and his tips on Hard Ops I was inspired to make some drones!

So get to work operatives! Box Cutter 4.5 coming soon!

2016-09-18_03-41-48.gif

2016-09-17_22-47-51.gif

Drone2oct1-5.png

Drone2Kitteh.jpg

FoxitReader_2016-10-07_14-14-14.pngFoxitReader_2016-10-07_14-13-09.png

Hard Ops was featured in 3dArtist Magazine Issue #99!

Hard Times And Even Harder Surfaces – Chapter 6 Demo / Timelapse

Chapter6Title1

Double Post Day!

In this chapter I want to go over something that I was taught recently by a craftier modeller than myself. And that man is Adrian Rutkowski.

Vitalii “Fructdw” Vlasov recently pointed me at his gumroad collection of assorted kitbashing elements and after checking them out I was blown away. For that I thank them both for this knowledge keeps my gears moving and knowing that there is always a better way.

Free Kitbash Set

https://gumroad.com/adrianrutkowski

The alternate ways that artists manage to make the tools work for them versus my ways and habits is always a welcome thing to see. Concept artists in particular are what I call “dangerous”. They enter 3d with a multitude of skills and an artistic eye that can’t be beat with pure 3d studying (or at least for me). I see so many concept guys open the door walk in and immediately begin killing it. I must admit I was nervous when I first saw how finely crafted and modelled each piece was. My first thoughts was that cad software was used and that these parts were not possible to make with precision and care to the edges and normals in Blender.

Now before we continue I also want to add. Forget topology for a moment. I know you’re gonna say, “What about UVs?” “What about deformation?” “What about sub-d?”. Lets leave all that alone for a moment and focus on just the shape and the form. In the end that’s what viewers see. Only us 3d folk see the topology and mapping. So if you want to clean up non subdivision parts be my guest but a concepter would craftily figure out a way to make it through the project without the nuances of technical holdup.

This is a timelapse demonstrating the techniques discussed in Chapter 6 of “Hard Times and Even Harder Surfaces” which is a patreon exclusive during development. Subscribe for this chapter and upcoming ones over at Patreon!

http://www.patreon.com/masterxeon1001

Also I wrote a blog post about freebies in the community worth picking up.

https://masterxeon1001.wordpress.com/2015/09/03/free-stuff-worth-checking-out/

All of them have freebies so go check it out!

Even I do! So pick up Blending Away The Pain if you haven’t already!
https://gumroad.com/masterxeon1001

Also I have been working on making finer and finer hard surface assets and if you get the asset collection you can check them out!

https://gumroad.com/l/assetcol

Image2

]

Final Update Before Drop

HPrompt1

So for this post I wanted to share a sneak peek of the near final upper body before final refinements and then texturing.

It is for the film I was so lucky as to be given an opportunity to be a part of.
https://www.facebook.com/HiraethTheFilm
HiraethWIP3
And the previous sneak…

Of course the final versions will be narrated.

I did a unique type of UVing that worked around the materials that I set up during modelling. I found this to be slightly easier but we will know during the UVing and texturing phase. Also for UVing I have a tutorial that explains my workflow in depth.

I am going to be releasing the full course soon to gumroad which is a direct sequel to my last tutorial course for DPS on using Zbrush/Substance Painter/Blender. This course hopefully will expand on that knowledge and demonstrate my workflow in creating a character that in my opinion is superior to the first in both modelling and execution. I have also been honored to get advice from professionals on design aspect and how to effectively showcase the character even under all of that armor.

LateNightPainting

So recently I discovered this software called Paintstorm that is just amazing. The behavior of paint style behavior on each and every pixel that the brush touches is inspiring and intuitive. I am not a concept artist by any means but the acquisition of this fine program is just the kick I needed to move forward. I definitely recommend going to their site and picking it up!

http://www.paintstormstudio.com/

AJren12

In other news. I have been so lucky as to get mentoring from Anthony Jones on design and art in general. He has taught me so much in a limited time that its staggering so I’ve been hard at work on refining and pushing my style to the next level. At this same time I have also expanded my software collection even more and am even becoming more familiar with fusion 360. It’s definitely a learning adventure finding out how real parts are made. I did this helmet as a test to get better at overlap and making more unique designs. I plan to release the timelapse soon on YouTube after narration but I am already digging the look before refinement.

AJren1

So while I’m yammering on I am also giving away stuff over at my Patreon if you’re interested in supporting me more closely on my journey as an artist. But for the people that are in support I am working night and day to give them inside access, materials, clothes, mech parts, models, etc. So also check that out if you’re interested.

http://www.patreon.com/masterxeon1001

I would like to thank everyone for their continued support. It’s the people that keep me going with this endeavor even as working day and night makes my body hurt haha. But seriously I’ve been hitting the PC extra hard this month so I’ve been quiet these last couple of days but I can’t wait to drop gold on my patrons and silver on my community.

I have also been doing some studies in Substance Designer to get more acquainted and fast but something I have been enjoying lately is Unreal Engine and sbar support.

By installing this plugin for substance support in Unreal you can import just sbars and deal with textures without linearzationi ssues or graph tomfoolery. I have just fallen in love with this since it just goes to show how important substance designer is in one’s pipeline. For another reason to use substance designer let this man explain it.

Really I think this is the future. Having 4-8 maps per asset and multiplied across characters can be a tedius thing to deal with and manage and this workflow is the future in my opinion and is worth a look. Allegorithmic is even having a sale right now for 40% off! So at least try the demo. Its complicated because its awesome.

Also for my patrons I am working on some sbars to throw up as well based off of stylized textures I have been admiring. One of my pastimes is taking classic textures and converting them to full PBR. So patrons, expect this little sbar soon to test in UE, Maya, Marmoset, and Unity! Still getting the grasp on making that epic mold that substance designer is known for making but that’s all for tonight!
substanceTest1

Ugh… I’m still here. Hahah just kidding! The fabulous Skin Vibes has come up with the most marvelous of theme songs for “The Servant” (details coming soon) but I am always impressed with this man’s work. He’s also a Blender user so thats always a plus too!

BlenderCookie – Modifier Stack Order Tutorial

I am very honored to be able to say that BlenderCookie was kind enough to allow me to make another tutorial for them! I personally feel it is an immense honor to have been able to make a tutorial for the biggest Blender community effort in the USA. I still hold out hope on meeting the infamous folks who nurtured my development and taught me so much. Go check it out!

https://cgcookie.com/blender/2015/06/16/modifier-stack-order/

TirePromoImage

Secret Update #2

So before going to bed I wanted to sneak a small update of an upcoming Gumroad course I’ve been working on. The parts are coming together even though the more I look the more I wish I could change. The final version has to look killer but I am sure the next updates will be even more impressive.

HiraethWIP3

I would say hes about 50% done just in the chest. But the renders were looking very nice even at this intermittent phase. That’s cycles for you. I hope to have more updates soon and thank you all for your continuous support!

I also am giving sneak chapters out on my Patreon page. So subscribing also gets you insider access and $10+ subscribers get the gumroad courses plus exclusive content like brushes and all sorts of ill shiznit. So join up!
http://www.patreon.com/masterxeon1001

cropped-patreonspread1.jpg

Also to leave for the night allow me to show you another fine render of Deux.
master xeon render_00000

Configured by Nick of the legendary 10. It touches my heart to see this guy coming to life and looking so awesome. Enough about play time to get back to work.

Nick also did the last ill comp of this guy. Just can’t get enough of him!
DeuxLogo

For those who don’t know of him his timelapse is here.

For coming allow me to drop one more brush for the night.
https://www.patreon.com/creation?hid=2685075&alert=1
BrushPromoHoseFreeEdition#3

Also this song… *tear* Tazz is a soul who translates well into his music which flows through my character’s veins. The servant… has a mother#(@*ing song! omg!

Also that E3 amirite?

Just seeing that video pushed my art another level. Seeing what they can do just shows me I gotta work harder! We have the same tools… right?

And maybe leave the night on a laugh.

EDIT: one more sneak peek.