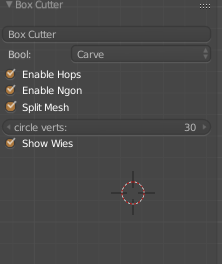
Box Cutter Guide V1

Box Cutter is released! https://gumroad.com/l/BoxCutter#

https://gumroad.com/js/gumroad-embed.js

Legacy Hard Ops users will of course receive a discount.

Box Cutter is a brother of Hard Ops and a standalone product.

IF YOU HAVE THE RED BOX DEMO ONLY THE RED BOX IS AVAILABLE.

To start it press alt + w. To draw a sub box press ctrl + left click and drag. It requires a selection otherwise it uses the selection lasso.

BoxCutter is a secondary project focusing on cutting with a different perspective than the toolset we all know as Hard Ops. They are intended to be used together however separately they still work albeit behave differently.

Starting box cutter after enabling the add on is under the hard ops T panel.

2016-04-25_18-09-19

The t-panel is worth looking  into.

blender_2016-05-01_08-18-59

This step is important since it allows the sharpening to happen after cutting. The beveling and sharping helps in differentiating the shapes easier when they are the same color.

Also Hard Ops received a last minute update to support box cutter in the Q menu under mesh tools in object mode.
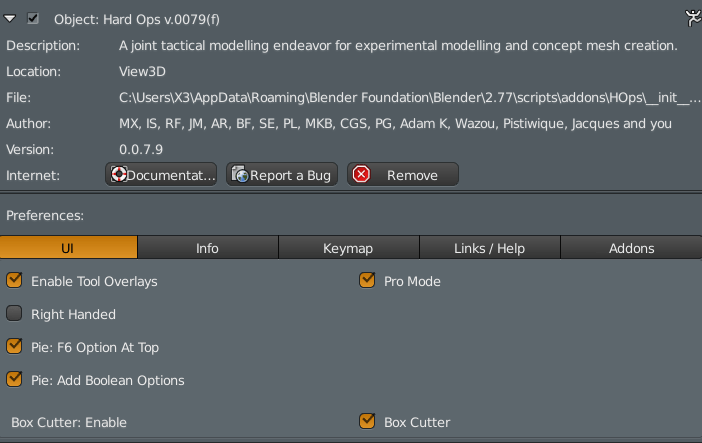
blender_2016-04-25_18-13-57

The last one isn’t necessary however it’s there for additional functionality. The hotkey at the moment is Alt + W.

In total theres 3 ways to start box cutting.

Alt  + W

T panel >> hard ops

Q >> Mesh Tools >> Box Cutter 

That is as easy as we can make it.

Now for the complicated stuff but very fun stuff.

Firstly when you are in box cutter the screen has indicators. This is important. Very very important.

blender_2016-04-25_18-21-39

The box on the right is AR’s idea of indicating Box Cutter mode. I wanted it red but haha its grey. On the left is the Cutter indicator.

This is something you want to be aware of.

D – changes mode (Box , Circle, Ngon) for now (while in box cutter state)

Esc cancels

So basically in Object mode you can use D to change cutter mode. And cancel with escape. You want to cancel when you aren’t using it since we currently are still dealing with it. You can open multiple box cutters on top of each other by accident. Which is unexpected and unwanted behavior.

So now lets get cutting!

2016-04-25_18-28-01

Holding down ctrl allows for you do cut out a shape in a box that you draw.

However this has a modifier to it as well. Holding alt while drawing makes it cut to the depth level of the 3d cursor!

2016-04-25_18-31-08

This is quite an interesting behavior when you want to control depth however we are still examining other options. But there is more to it than even that.

If nothing is selected you can draw a white box. This is just for creating a quick box.
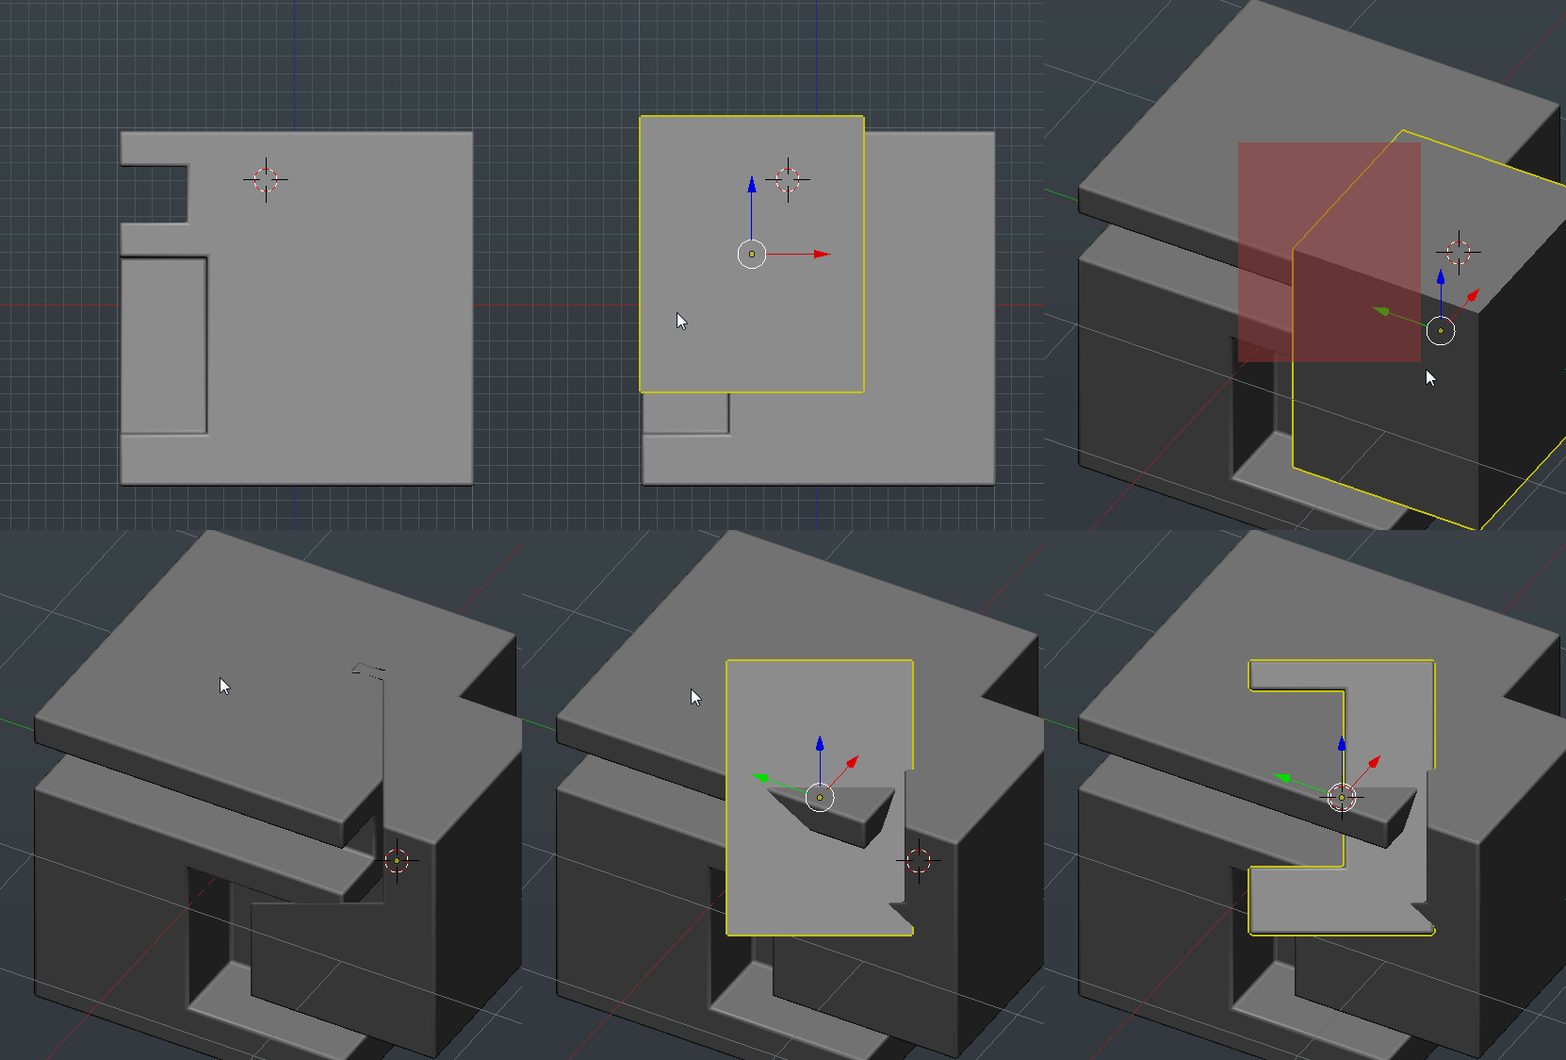
 

2016-04-25_18-34-58

With nothing selected it draws white boxes and with a selection it draws a sub box. If you hold ctrl + shift when drawing with nothing selected you will draw a box from the 3d cursor’s position.
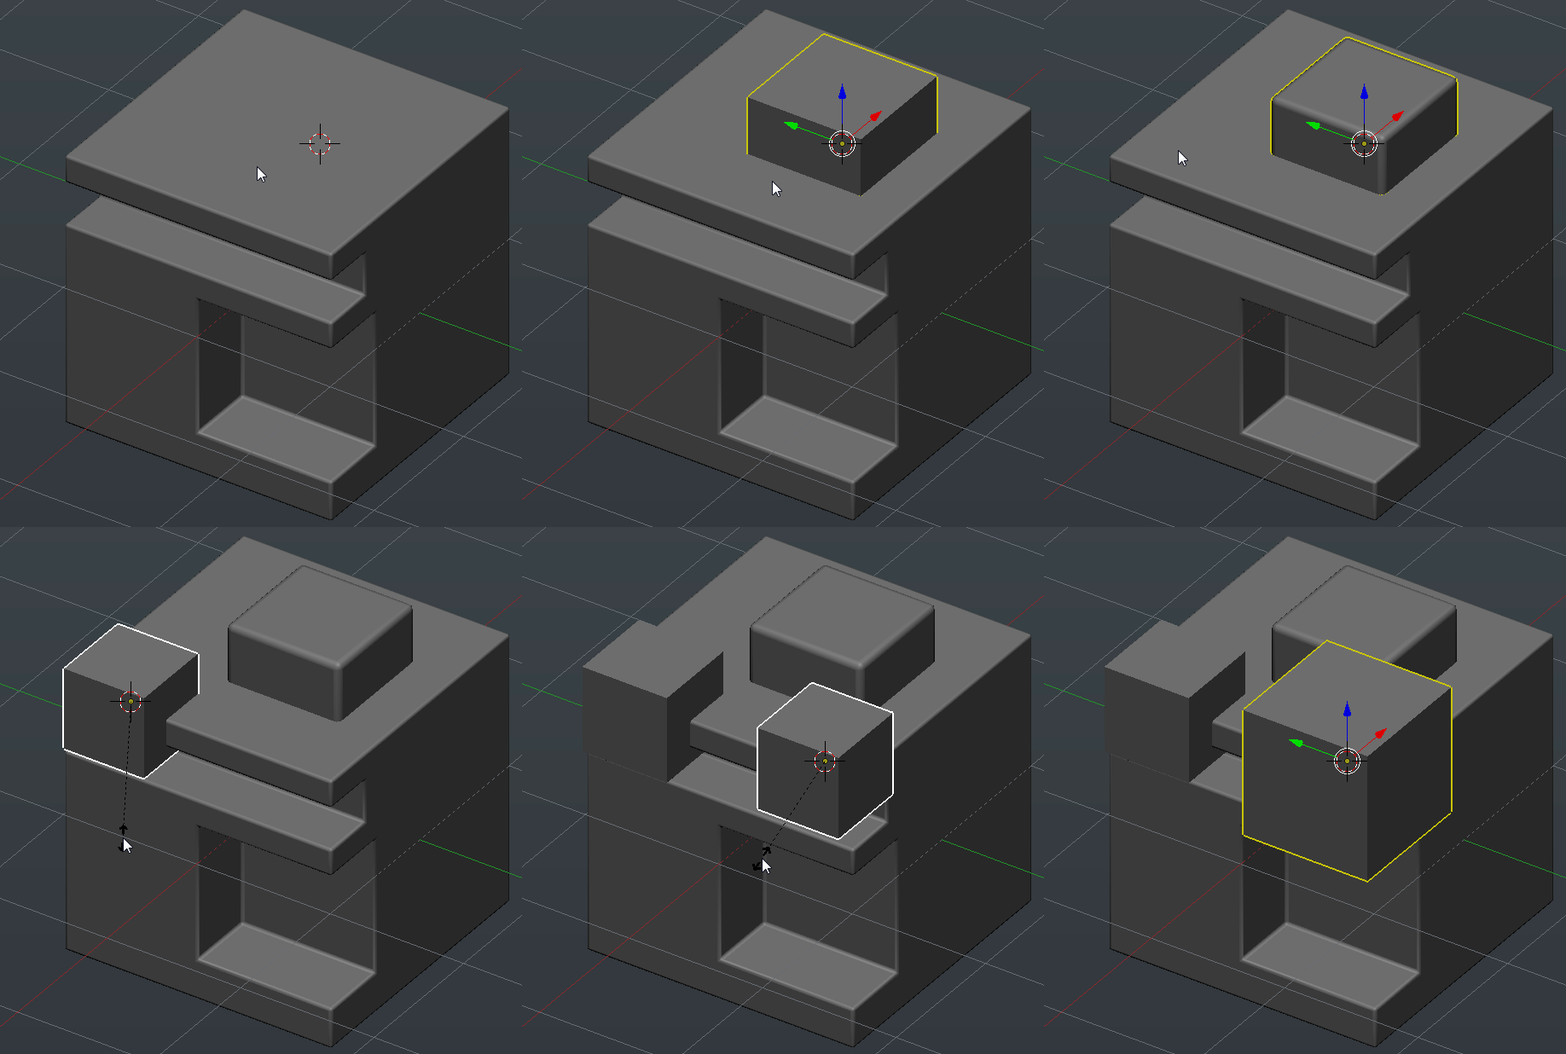
2016-04-25_18-37-00

This behavior is intended for speed so pressing things without being aware can make for a crazy experience. Kinda like opening Zbrush for the first time.

While the sub and additive brushes seem awesome the real favorite for me is the slicer. This brush will slice out the mesh into a new section similar to the rebool but with a whole different perspective.
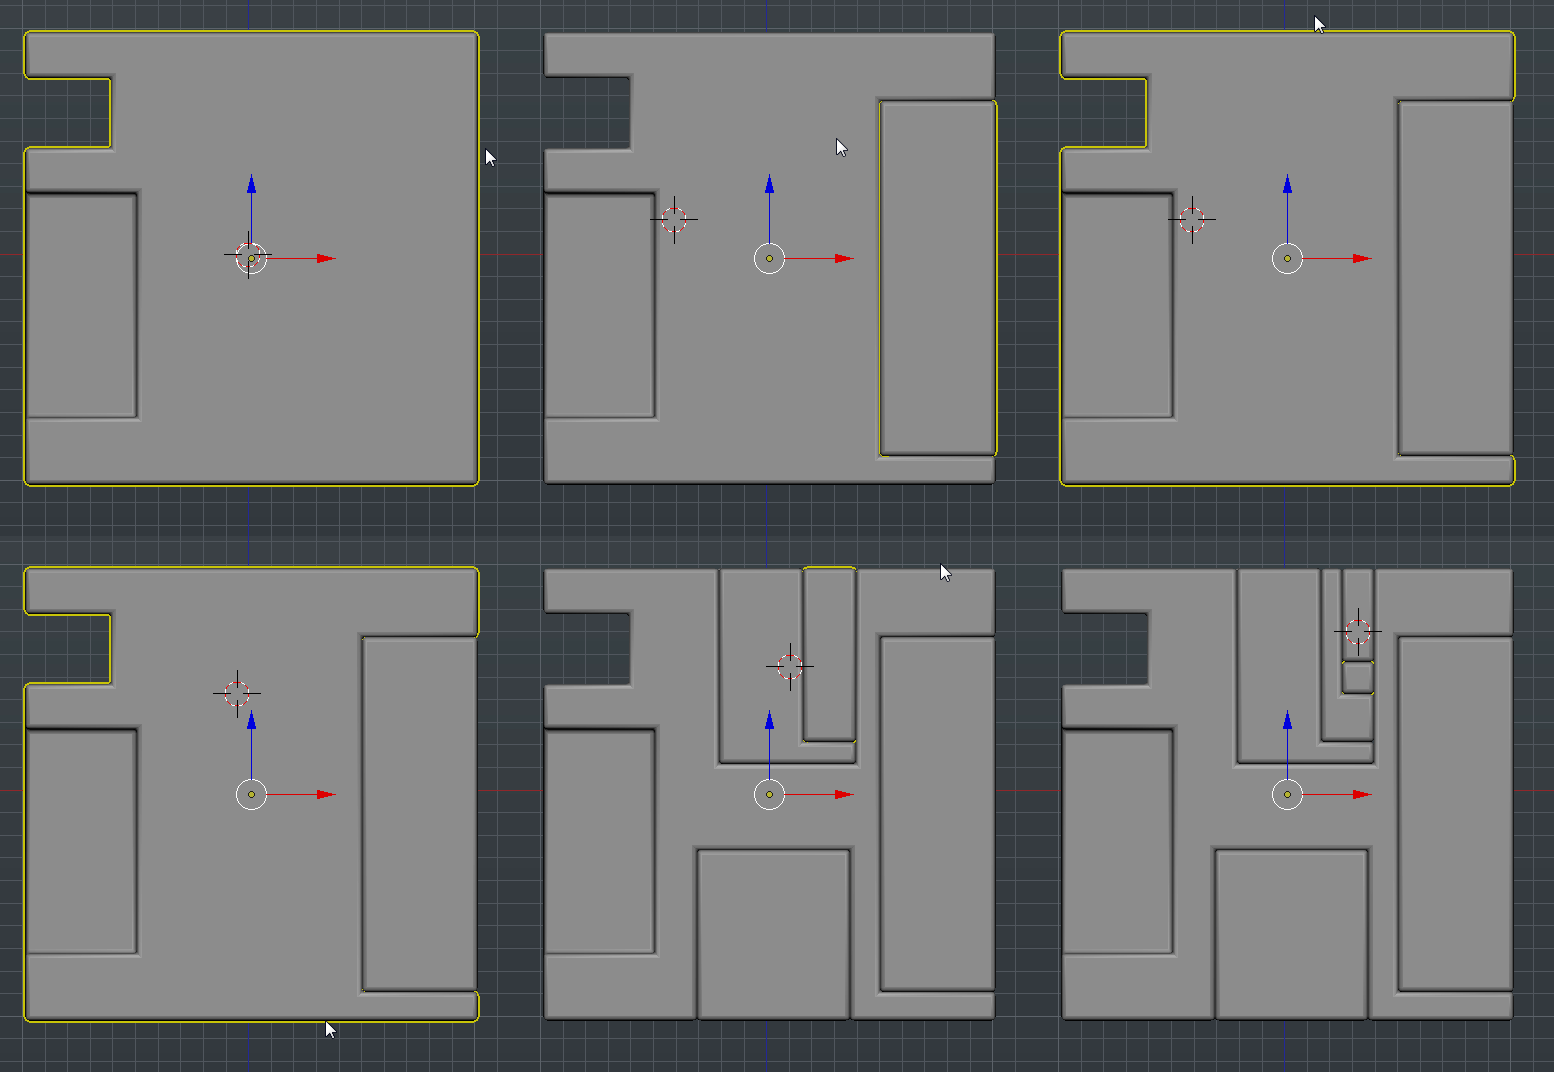
2016-04-25_18-40-44

Holding ctrl + shift will bring up the slice/rebool box. The same modifier of shifting to alt during still applies for cutting with depth. The way Box Cutter is setup is that you can make quick cuts in quick succession then go in for the kill with finer detail and Hard Ops based workflow.

Admittedly this will take some practice but hey this is version 1. As with Hard Ops we plan to make large improvements over time and refine it the level of what we consider “finished”.

When it comes to the art of cutting in Blender it goes without saying that guidance edges are as important as ever when it comes to performing booleans successfully. So additionally the option to fast bisect has been mapped to ctrl + D. Pressing it will take you into an edit mode setup where you can quickly click drag and bisect.

2016-04-25_18-48-56

For this basic example it is overkill but in the thick of things this is a very useful tool to ensure your bevels and booleans are working together. Otherwise this method of creation can become a game of luck when eventually you hotline and have to undo.

Additional shapes exist with the same behaviors like ngons and circles however they are more experimental at this time.
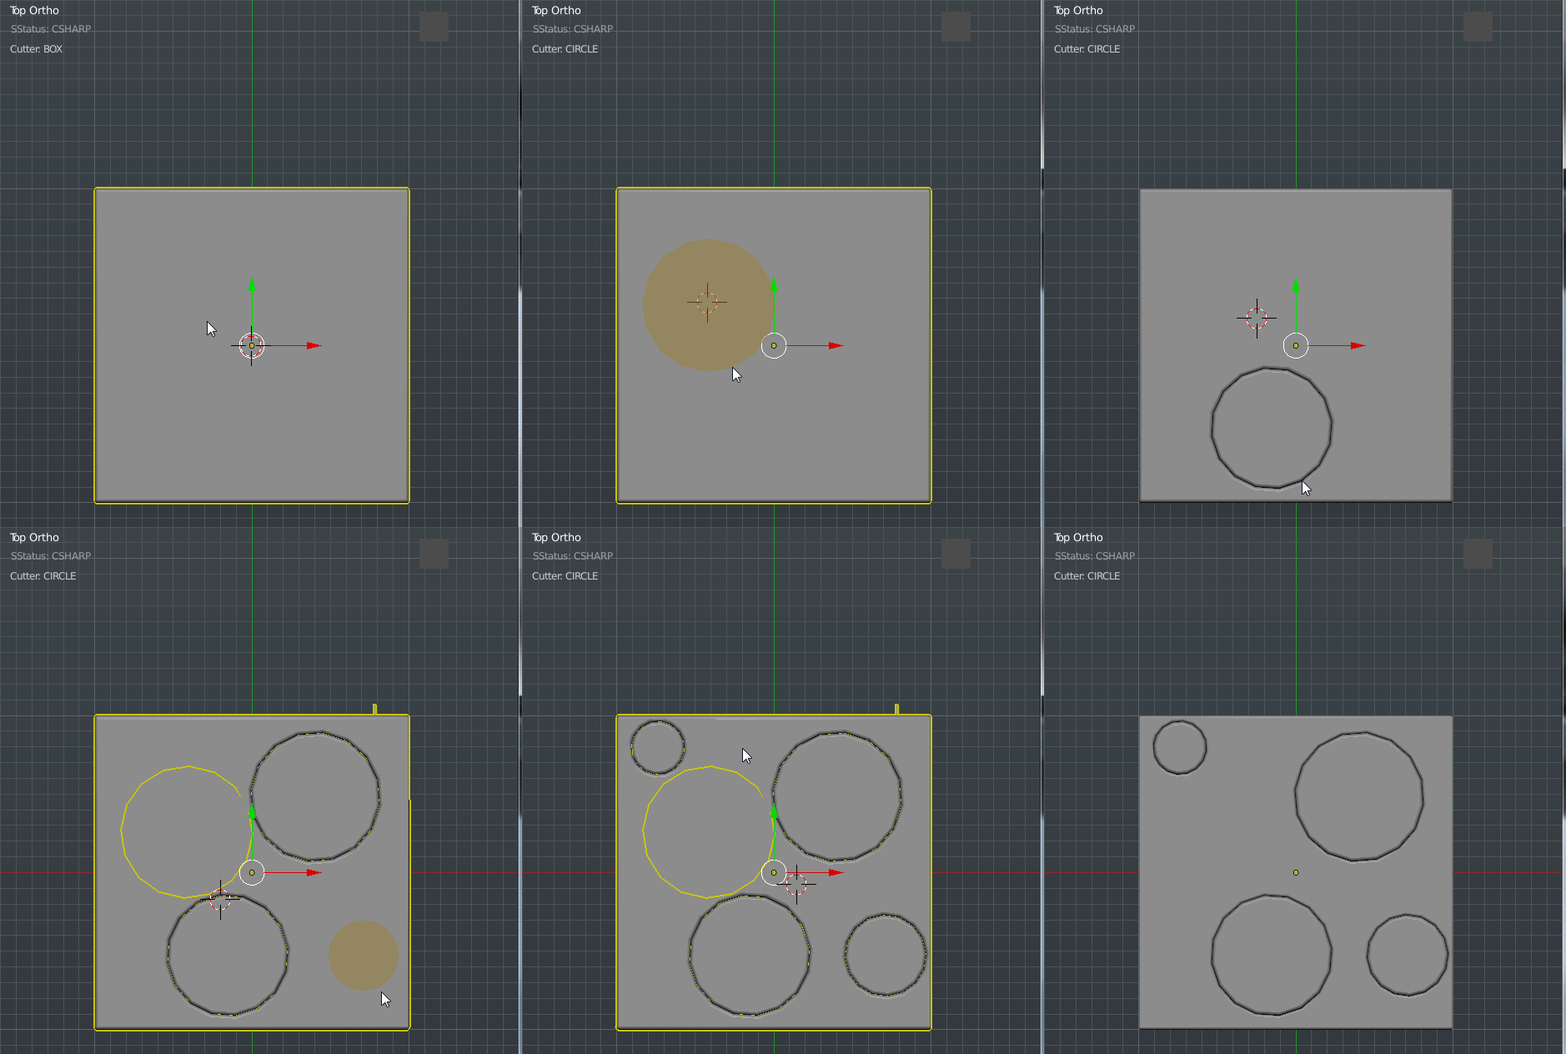
2016-04-25_18-54-27

Ngons exist too but they’re my least favorite at this time. And also are the most experimental.
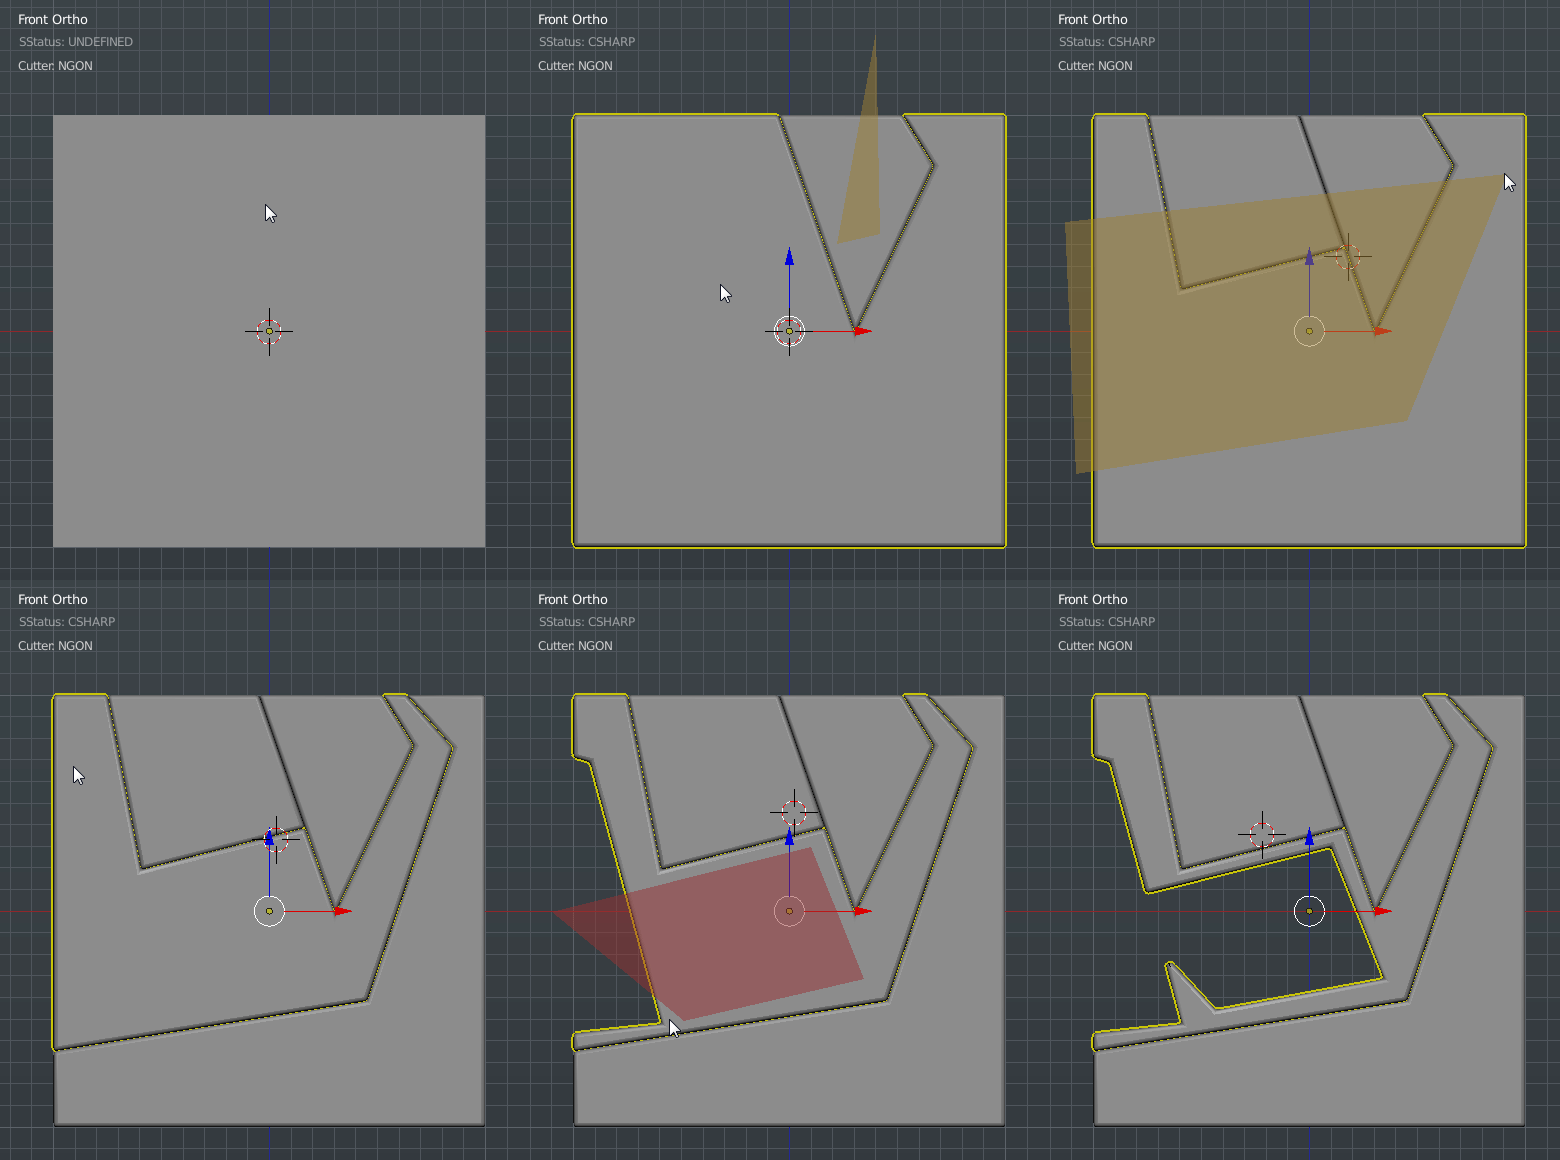
2016-04-25_19-06-39

You have to click to start which provides no feedback until the 3rd point or so. This behavior I feel will be the hardest to get used to however it is available for those who want to use ngon shapes.

We still have much more planned on expansions for this in the future so stay tuned for more information. This wiki is a bit short at this time however a more detailed one will follow.
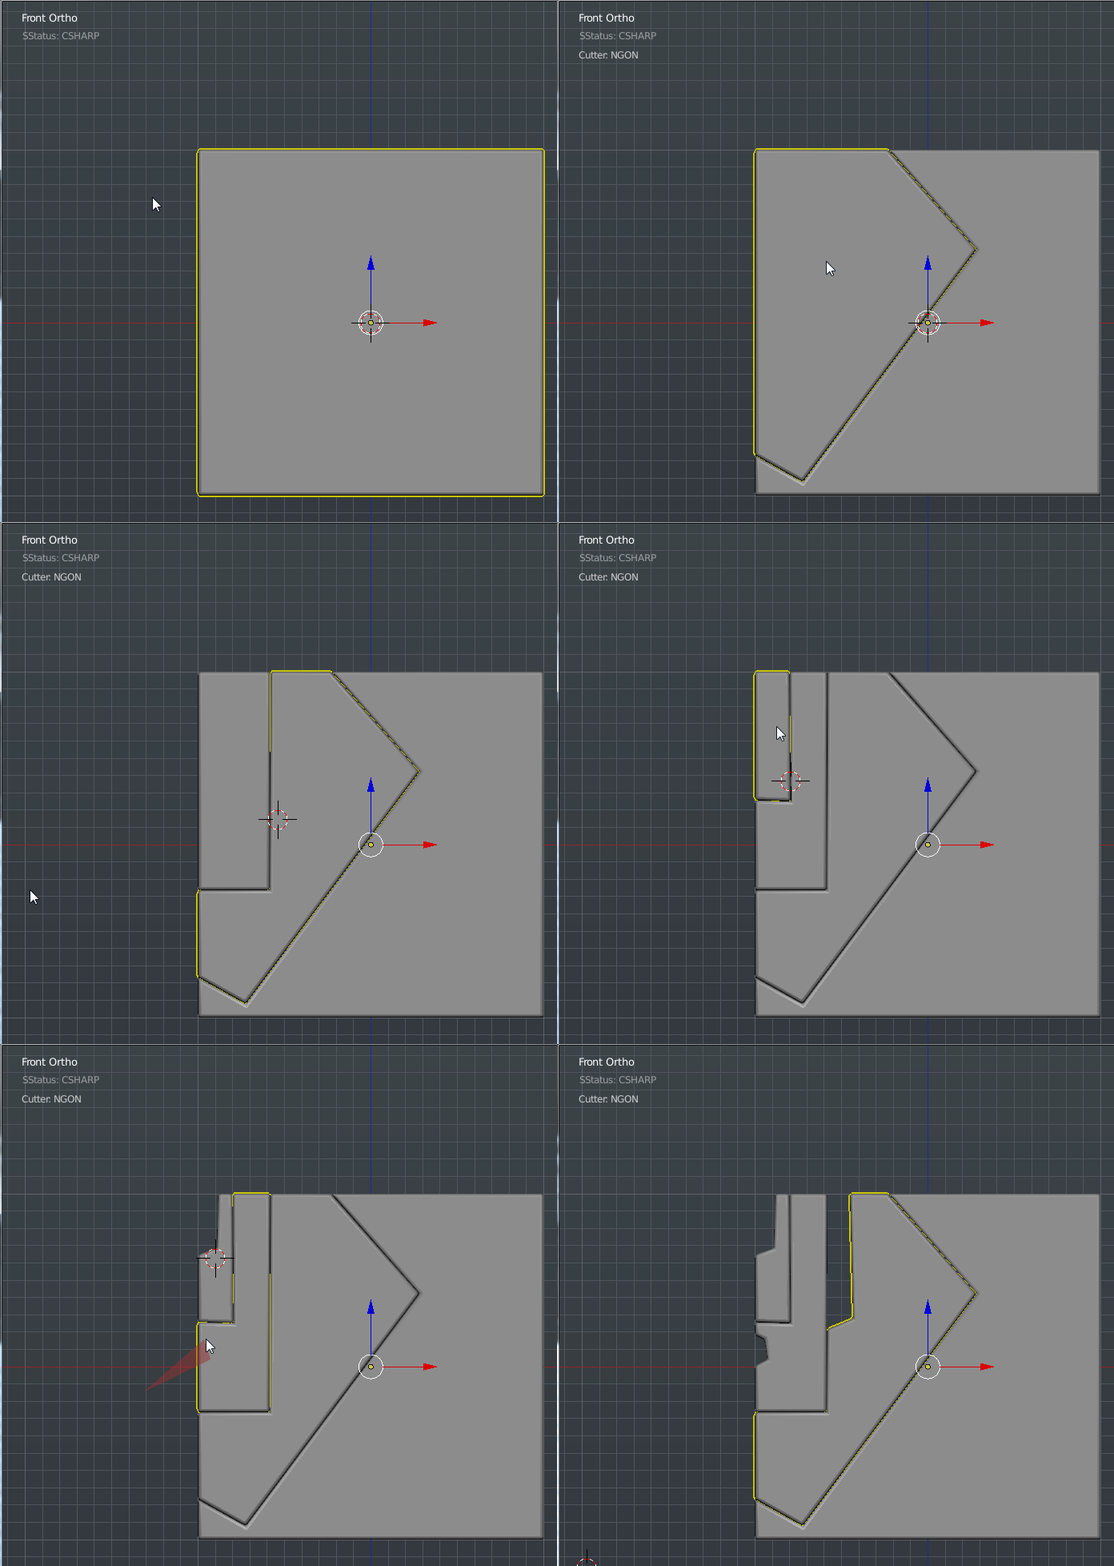
2016-04-25_19-04-29


Notes. Esc ends box cutter. End box cutter before closing your scene or opening files. The red border is to let you be aware of box cutter mode. So you don’t accidentally press alt + W twice.

Pew Pew!

I have always had issues modelling guns so it’s something I’ve been practicing for a while. However I am never quite pleased with my final result. And after watching various videos I feel that I am at least on the right track as far as approach. I’m not big on firearms personally but well presented ones are always a work of art. Especially designs and ornate patterns. So the first example I want to show is this guy.

https://www.artstation.com/artist/ethanhiley

As a big COD fan coming across his Artstation showed me just how fine the guns I take for granted actually look up close. Freaking amazing.

Now the modelling and getting ergonomic shapes that suit the hand or arm is also something I always ponder as well. So for this I watched a timelapse about 5x from a friend of mine Edon.

He also has a gumroad page if you want something more training oriented.

https://gumroad.com/edonguraziu

The modelling especially caught my eye. The clever use of booleans and beveling and not an ounce of subdivision. I was quite impressed with the video and technique. Personally Maya always seemed a bit rigid for speed modelling but Edon showed me in that video how it’s done. The main part I took to heart is that you are able to boolean>> difference a flat form with an elongated cylinder and then bevel the perimeter ring. Usually beveling edges against n-gons is a surefire way to go to undo button and make life miserable. However through repeatedly watching this video I noticed that the bracing edges had to be relocated to get that smooth translation. I have seen the light as far as that’s concerned.

Now when it comes to presentation I feel that the typical floating in space object just can’t cut it anymore for a result so design and presentation must work hand in hand. Before I do allow me to add another tidbit I learned today.

“As I’m able to create a lot of detail fast with dynamasks I have started to keep my sculpts simple and only sculpt big shapes, details that wont change the shape of the low poly i can do in the suite. Other then that I have started doing things outside of the suite that I wouldn’t do if I didn’t have the suite”

This isn’t completely gun related however this is concerning the texturing. And also Quixel magazine.

http://dev.quixel.se/issue09

To be honest I thought this issue was a bit whack where I wish they would at least give tips on the programs or something. The articles just seem so vague. But I’ll make that magazine or book better yet haha.

Anyways the gist of that quote was that this person literally has their block in and does everything else in texturing. So the details and texturing both work hand in hand as a team. Geometric complexity alone wont do it or you’ll be like the cover of this month’s 3d artists magazine.

http://www.polycount.com/forum/showthread.php?p=2308983#post2308983

It’s a great helmet however I am going for robots that are a little more personal. Love the model though. It’s that marriage of  texture and micro detail that I’m seeking which brings me to my next point.

This guys video showed me the light in ways I can’t begin to explain. The technique is solid and I get enough of an idea to take it into my pipeline. Those guns are very nice and exactly what I was missing. Personality. Those guns look like they belong to specific people and that is interesting to me.

So in closing…. Allegorithmic. My boys in blue. Just updated Substance Designer.

https://www.allegorithmic.com/products/substance-designer/release-notes/5.0

If you don’t feel like reading here’s what matters. To me at least.

[Content] Add “Detail Oriented” technique to Normal combine filter
[Content] Add Vray/Corona/Redshift/Arnold targets to the PBR converter filter (to convert maps for these renderers)
[3D View] Add tessellation to PBR shaders

The last 2 are the main ones for me. PBR to Vray support. Oh yes. Now there’s is a node for conversion instead of using tricks to render it. And that means that other renderers too! So Cycles is next as well. Now tessellation is important for  viewing height information while creating shaders so this is also an amazing addition because I’ve complained about this for a while. I was actually going to close this post here but while we’re talking about SD allow me to show you the future of their viewport.

Who’s better Allegorithmic or Quixel?

That’s an unfair choice to force yourself to make. Both programs offer you workflows that have both strengths and weaknesses. SD can get a bit complicated for very basic things sometimes but the flexibility and non destructive nature makes it a very powerful choice. Being able to make sbars and interactive textures is indispensable in my life. However Quixel is a powerhouse and with Photoshop in tow you’re in good care with the most powerful image editor in this galaxy at your fingertips. So the answer is both. I leave Quixel and go into Substance. Sometimes I paint my base maps in Substance and then go into Quixel. But using them together is just pure power. Algorithmic was on a steam sale a while back. And I was given a key for Quixel by a great artist.

Georgian is a friend of mine who recently was in Quixel magazine in issue 03.

http://dev.quixel.se/issue03

He was in this issue showing off a fabulous model that he was so kindly as to share and give away on his Gumroad along with a breakdown. It’s kind of a classic but I might as well make this post a link fest.

https://gum.co/FXWJJ

This blog also talks alot about nDo and is a good place to start.

http://advancedndo.tumblr.com/

I’d definitely recommend checking those guys out and support, subscribe or follow. But that’s all for now. In the shadows I work and wait and grind… and play Black Ops 3 for PS4! Beta just drooped today!

Add me on ps4: finaleX

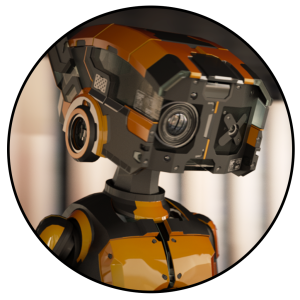
edit: Can’t end a post without soooomething Blender related. So I share with you all my latest robot WIP. D-29

Blender/3d: Custom Normals

In this blog post I wanted to go over custom normals for hard surface creation. I plan on keeping it short but still I find this essential nonetheless. Custom normals exist in most applications and is essential. Maya users are familiar with the process of hardening edges and softening them in addition to locking them down. For this quick post I wanted to discuss ways in Blender to get smooth shading without all the fuss of horrible looking edges or exact tweaking.

CN1

The first image above shows the mesh on flat shading without any smoothing. While it looks moderately acceptable, for the baking it will show unwanted faceting and make the normal/height show stair stepping that would be undesirable for the final result. When I click set smooth all my problems come to light and show the roughness of my workflow of booling insane amounts of shapes into a planar form.

CN2

Funny enough. Before custom normals were added I used to fight with this so much and would use the split edges modifier to make life easier. This also increased the vert count substantially and made the mesh denser than the process of making it which was also a bad thing.

In the object tab there is a normals tab where you can check auto smooth and set an angle as well as turn on double sided (which isn’t needed). The default angle is 180 which isn’t going to show any difference however once you lower it down to either 30 or 60 the normals begin to look much better.

CN4

The final mesh is now ready to be exported / baked or whatever I plan to. To set manual edges you can press ctrl + e >> mark sharp. This will sharpen the edge similar to how Maya has Normals >> harden edge. I use that as well for shapes I boolean into other shapes and the amazing part is the sharp edges translate well into the subsequent object along with vertex paint, materials and even UVs.

CN5

But that is all for this tutorial on custom normals. I hope this helps you in your hard surface endeavors. Also be sure to check out my latest tutorial about modelling sci-fi floor pieces using the mesh subtraction kit.

I’ll leave you with one more image showing the process on a basic cylinder to help drive the point home.

damnJordan

For being cool enough to read my blog I would like to also throw in a free floor! You can check it out and see the custom normal smoothing in action! Thanks again!

https://www.dropbox.com/s/rslorvtw9xnl1am/FreebieFloor.blend?dl=0

Also… the default cube of the future.

https://www.patreon.com/posts/3032558

UltCube

BlenderCookie – Modifier Stack Order Tutorial

I am very honored to be able to say that BlenderCookie was kind enough to allow me to make another tutorial for them! I personally feel it is an immense honor to have been able to make a tutorial for the biggest Blender community effort in the USA. I still hold out hope on meeting the infamous folks who nurtured my development and taught me so much. Go check it out!

https://cgcookie.com/blender/2015/06/16/modifier-stack-order/

TirePromoImage