
In this blog post I wanted to go over custom normals for hard surface creation. I plan on keeping it short but still I find this essential nonetheless. Custom normals exist in most applications and is essential. Maya users are familiar with the process of hardening edges and softening them in addition to locking them down. For this quick post I wanted to discuss ways in Blender to get smooth shading without all the fuss of horrible looking edges or exact tweaking.

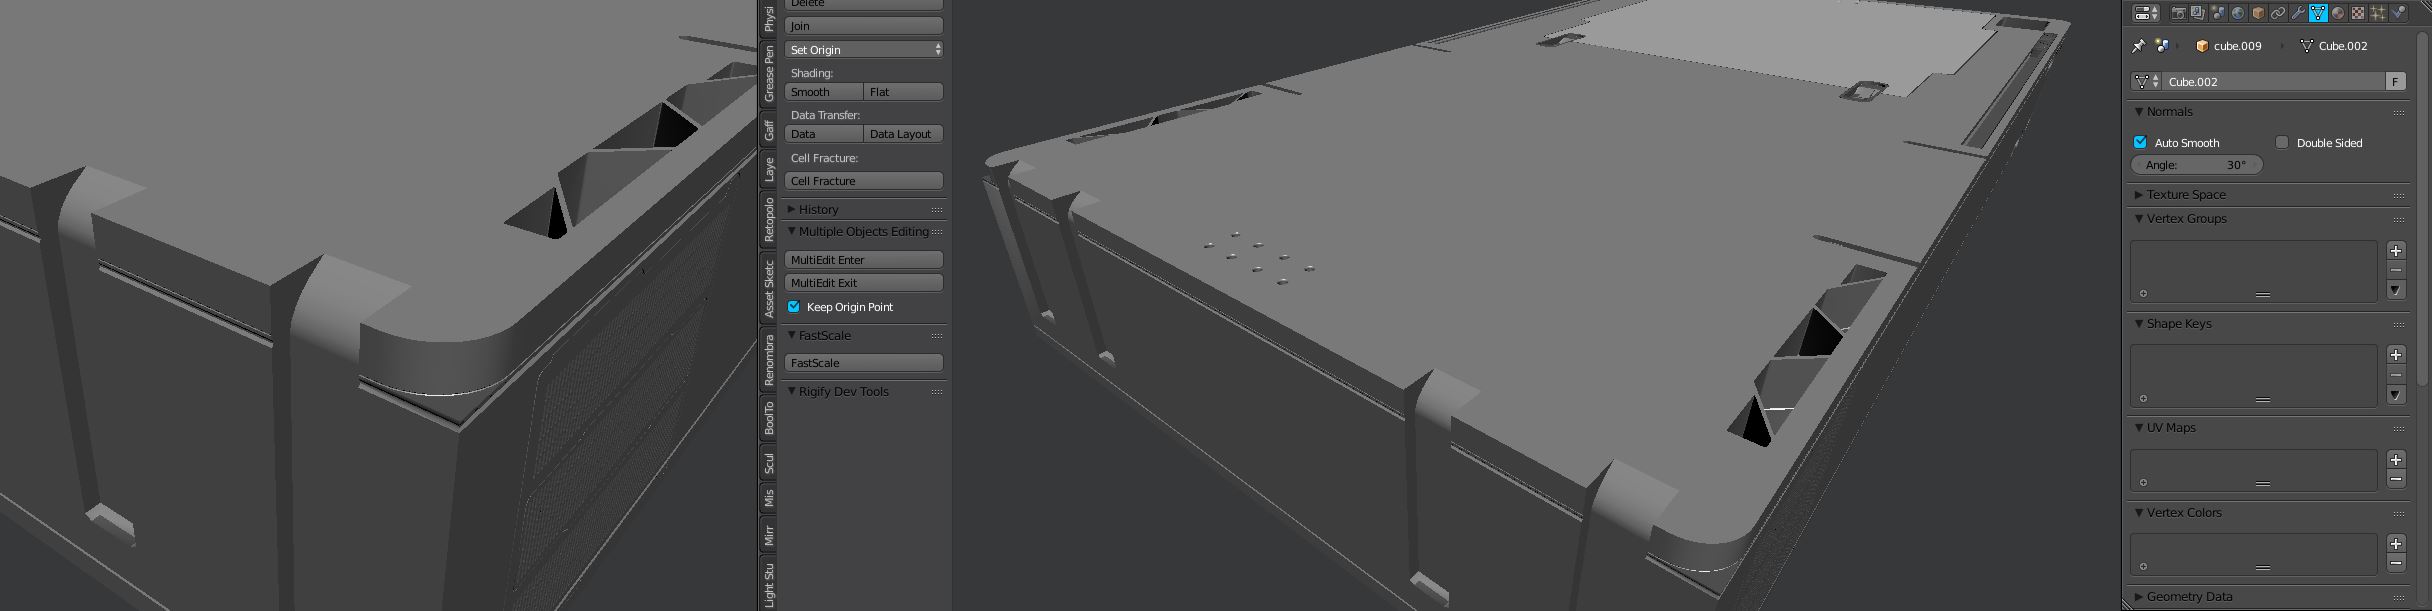
The first image above shows the mesh on flat shading without any smoothing. While it looks moderately acceptable, for the baking it will show unwanted faceting and make the normal/height show stair stepping that would be undesirable for the final result. When I click set smooth all my problems come to light and show the roughness of my workflow of booling insane amounts of shapes into a planar form.

Funny enough. Before custom normals were added I used to fight with this so much and would use the split edges modifier to make life easier. This also increased the vert count substantially and made the mesh denser than the process of making it which was also a bad thing.
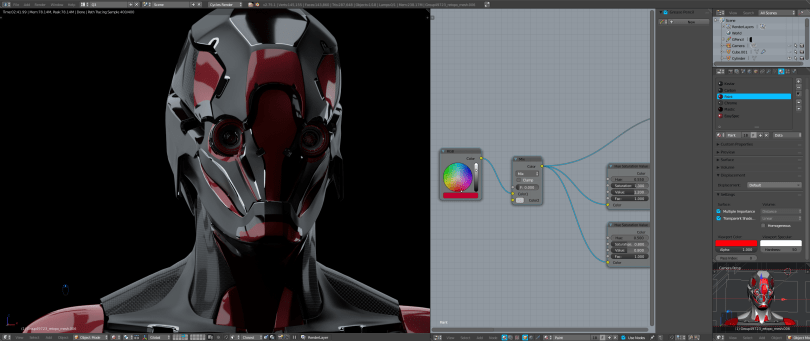
In the object tab there is a normals tab where you can check auto smooth and set an angle as well as turn on double sided (which isn’t needed). The default angle is 180 which isn’t going to show any difference however once you lower it down to either 30 or 60 the normals begin to look much better.
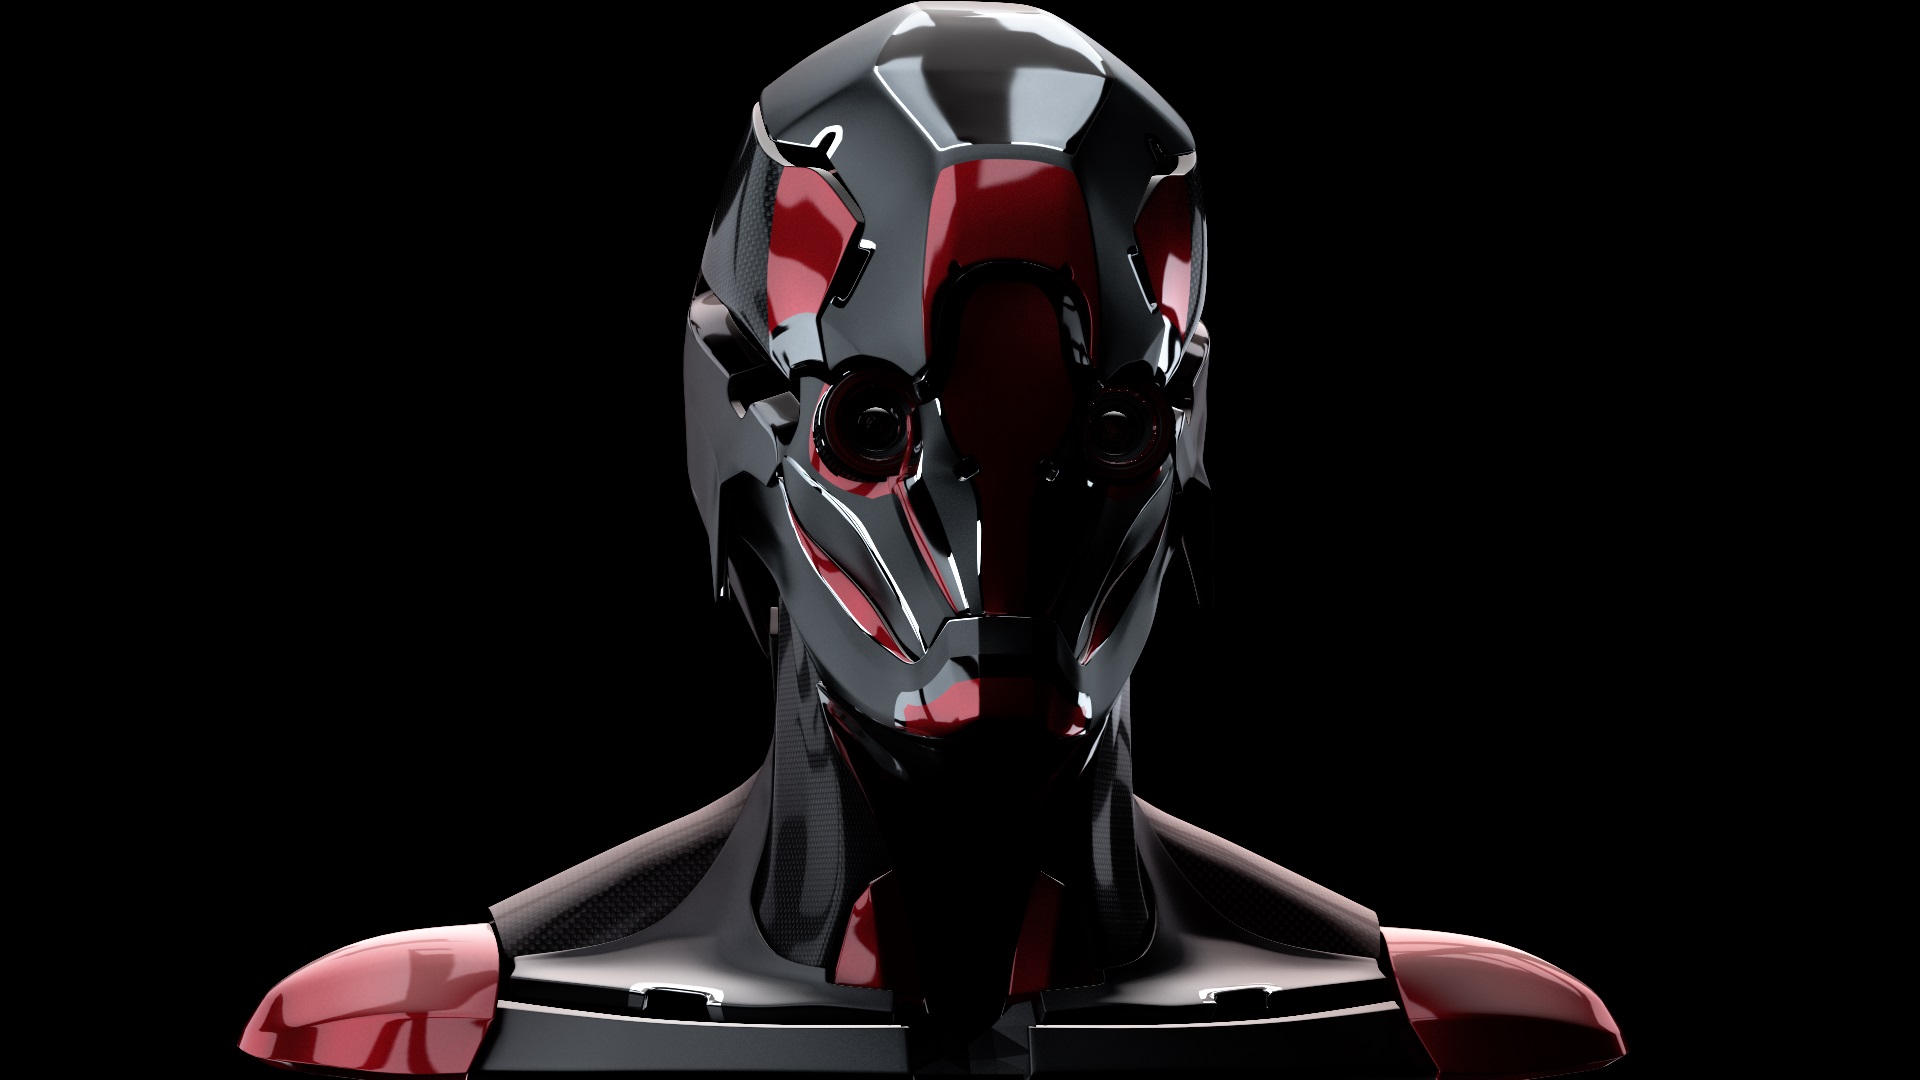
The final mesh is now ready to be exported / baked or whatever I plan to. To set manual edges you can press ctrl + e >> mark sharp. This will sharpen the edge similar to how Maya has Normals >> harden edge. I use that as well for shapes I boolean into other shapes and the amazing part is the sharp edges translate well into the subsequent object along with vertex paint, materials and even UVs.
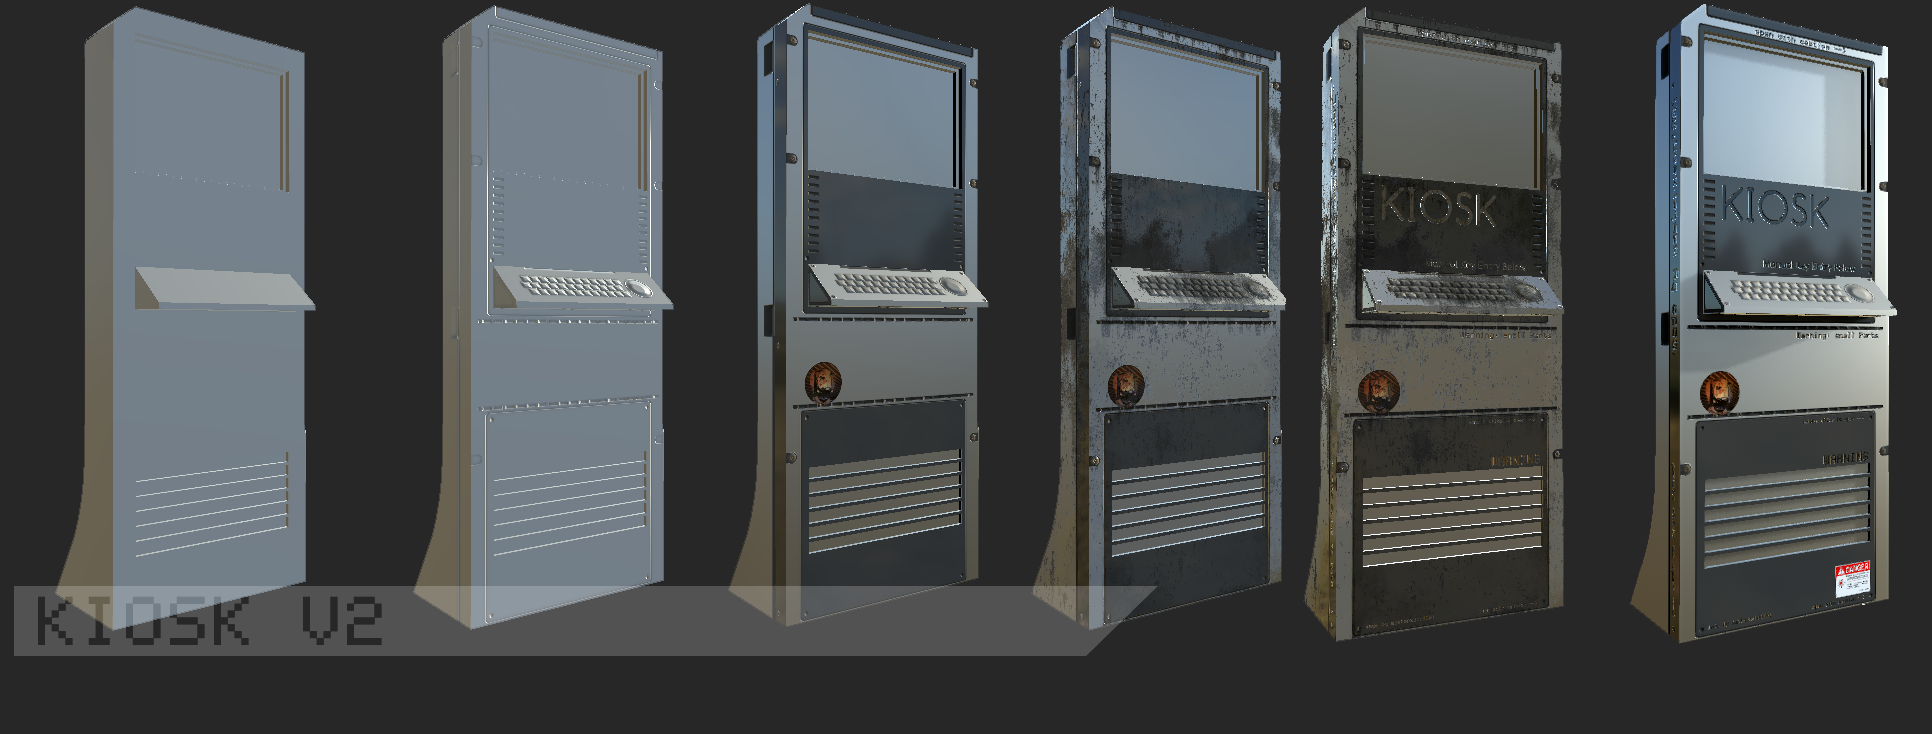
But that is all for this tutorial on custom normals. I hope this helps you in your hard surface endeavors. Also be sure to check out my latest tutorial about modelling sci-fi floor pieces using the mesh subtraction kit.
I’ll leave you with one more image showing the process on a basic cylinder to help drive the point home.

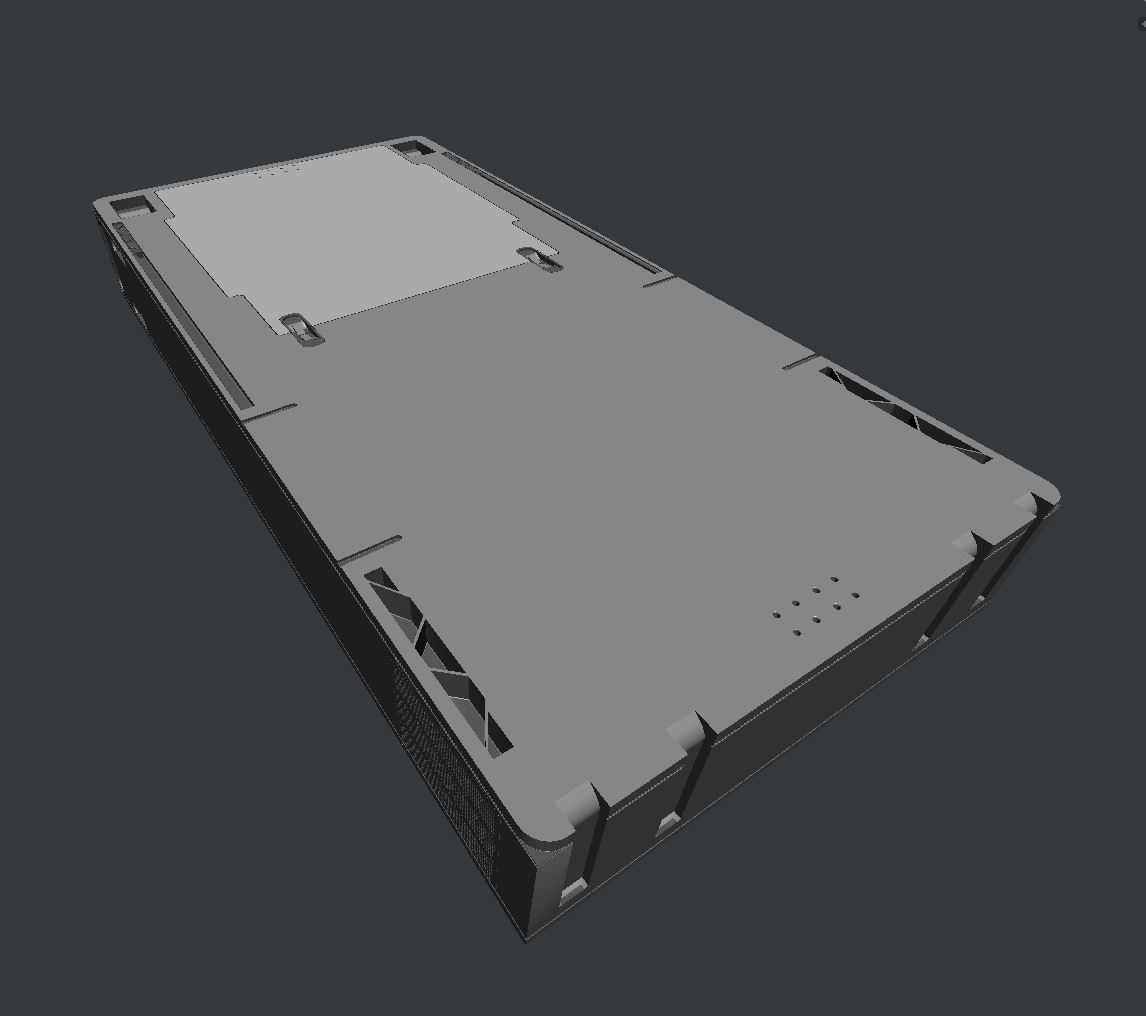
For being cool enough to read my blog I would like to also throw in a free floor! You can check it out and see the custom normal smoothing in action! Thanks again!
https://www.dropbox.com/s/rslorvtw9xnl1am/FreebieFloor.blend?dl=0
Also… the default cube of the future.
https://www.patreon.com/posts/3032558