

 Gumroad customers… the file is in the gumroad. At the top. The latest files are always at the top.
If you have issues enabling it. Reboot your PC.
current install location:C:\Users\<USER>\AppData\Roaming\Blender Foundation\Blender\2.76\scripts\addons\
I tend to install by copying it to the folder. Not using the install from file in Blender. But whatever works I suppose.
________________________________________________________________
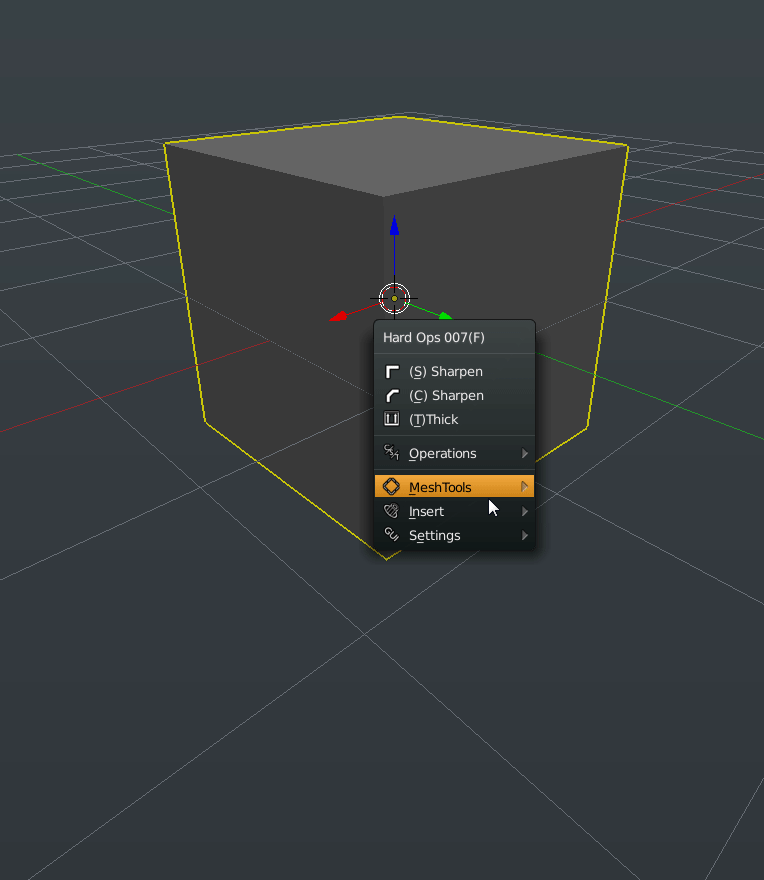
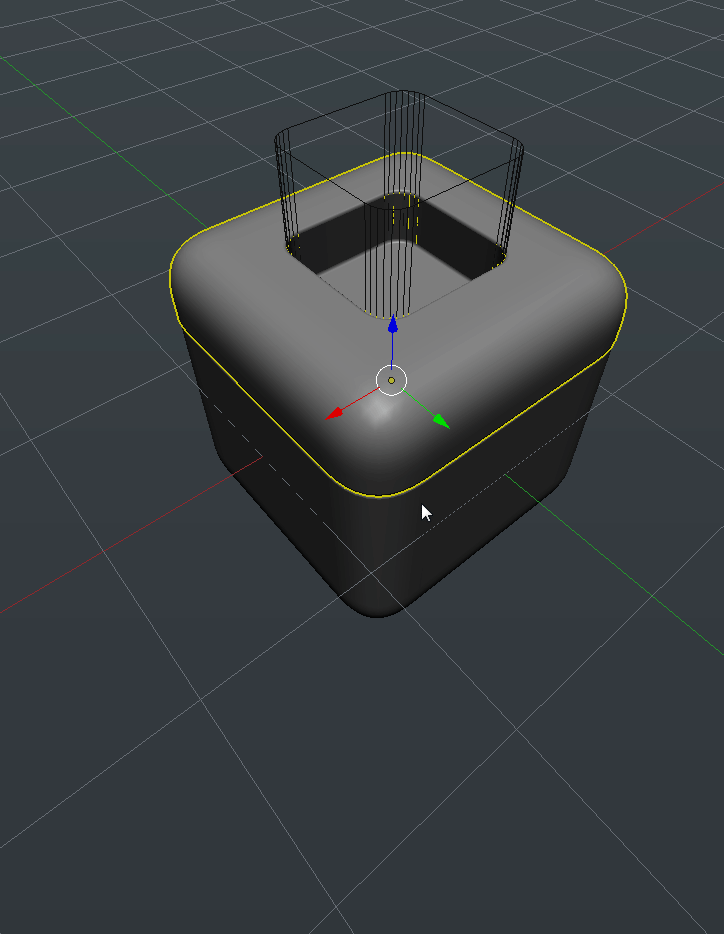
Hard Ops has experienced many changes underneath while attempting to retain the same philosophies that have been used over the course of it’s development.
The menus have been revamped with many new options and new icons thanks to Adam Krol or AK.

 So the menus have remained the same on the main level for the most part however the options inside are where the real changes can be found.
Its important to remember in Hard Ops.
The first 3 options are the recommended options. You should use those however if not you also have operations where you can use options that aren’t in the top 3.
Meshtools, Inserts, and Settings are used less often so they are the bottom. Usually the first 3 do the recommended job in most cases so it also can be an indication of the mesh status. But that is a bit of work. How about we do you one better?
 Now the 3d view has an indicator in the corner for showing the status of the hard surface mesh.
In Hard Ops as far as the functions are concerned there are 3 mesh types.
-meshes that hard ops hasn’t touched intimately. Undefined meshes.
-meshes that have been Csharpened (thus beveled)
-meshes that have been Cstepped (bevels are baked but re-added)
Understanding these 3 mesh types will ensure your success with Hard Ops. One day the process will be made easier but it’s quite easier than it was in previous versions so progress is made with every release.
Also new to Hard Ops 007 is the on screen hud. This was added by the animation nodes master Jacques himself! https://www.youtube.com/channel/UC5ABAuGEvBMmau-1xJsNw6w There are quite a few superstars involved in this version and code wise its more solid than it has ever been. But of course expect bugs haha.
 The hud was something I wanted for a while and based off of user feedback it seemed obvious visual feedback would make things so clear.
B-Width now has an onscreen indicator thanks to Jyri http://blenderartists.org/forum/showthread.php?390354-Blender-Astromonkey in fact his postings were the reason I felt everything needed on screen indicators. He has been an important part of Hard Ops as well and was a major factor in this release.
Q-Array was added as the result of Jyri and further perfected by Jacque who I gave the code name Python because he’s a fierce coder. AR added the ability to set up 2 arrays at once on it then we realized we were making features we’d never use.
T-Thick is now T-thick2 and has an on screen hud now as well. All the visual feedback is making my goals of fullscreen working closer to a reality.
This is just the beginning. The features list was beginning to get so long that it was hard to keep up with all the changes. So lets continue with the features!
It’s not uncommon that I request a feature that is met with “that can’t be done” or “python doesn’t go that way”. However the modifier helper is one such thing. This was first implemented by my good friend, product visualizer and fellow coder Claas Kuhn https://www.youtube.com/user/cekuhnen/videos
By pressing Ctrl + (`) you can bring it up in the 3d view and edit modifiers on the fly. It was further perfected by the Python to fix glitches and now it works perfectly.
 The goal is to someday open blender and press alt + F11 for full screen mode and then alt + F10 for full screen 3dview. With this addition, the goal is even closer and I plan to expand on it even more to make the menu more useful. Many who are using the preview found this little Easter egg already by it is one of my favorite.

You may have also noticed the preferences section with recommended add-ons. I have always recommended particular add-ons for the utility and functions that they offer that expands on the original behaviors.
If you are missing an add on it will simply show you where to get it. No errors. However some options may be missing that are special experiments with functions for Hard Ops to play off of. I am a big fan of the Mira Tool for example so in edit mode there’s a quick option in the Q for using the curve stretch when present. However this is just an extension for convenience and experimentation so it’s all unsupported. If it works for you just have fun and enjoy the ride.
Auto-Mirror is another plug I am quite a large fan of. As a left handed artist. I made a small adjustment to make it accommodate. When present in Blender with Hard Ops additional options are unlocked.

There is both a Mirror Helper popup window and an experimental option panel as well. Both of them function primarily the same however the open menu is a little quicker. It’s just something worth experimenting with as well. I enjoy the bisect and mirror behavior of the auto mirror so it’s utility in hard surface application was fairly self obvious. I do love the way it behaves.
That doesn’t mean the regular symmetrize hasn’t been left out. It has been updated with an on screen display and is now interconnected and rewritten from scratch. It also supports Cstep and Cshapen behavior so it can symmetrize and setup the mesh for cstep without messing up the bevels that were previously baked. This was something that annoyed me personally so I was glad to see it fixed.
There have been many overall fixes to the behavior and the psychology that was brought about with the introduction of the status mesh system.
What I mean by this is….
When working in Hard Ops I assume by now you understand sharpening and stepping. You sharpen the mesh to perfect and set up the surfaces but once it’s detailing time you cstep it. You don’t go back to csharpen and ssharpnen then. Because the default settings will bevel your bevels. Which will never look good and can cause artifacting.
So now if the mesh is in cstep you can no longer use the sharpeners which is much better for the geometry and the psychology of the user. This update was added as the result of me watching one particular user. Who will remain nameless.
If you wanted to really reset the mesh to use the sharpeners you could always clear ssharps under operations. Which resets the mesh status.
In fact. Clear Ssharps has a hud now too. Everyone gets a hud this release. Sometimes I look over the plugin and ask. Who else needs a hud?
The addition of subsets was in the 0065 release.
These inserts are different than the regular inserts in both behavior and usage. Subsets are basically inserts that are built to be inserted within a surface and then csharpened or sstepped to integrate it into the surface. Personally I like to use cstep for this since it allows for individual bevel configuration in between bakes. However this is a finalization workflow. There is no going back. At least without a little pain.


Subsets are made up out of 3 meshes. Subsets also insert always to the 0,0,0 of the scene and not on faces and at the 3d cursor like regular inserts.
AP which is what you use to set it on the surface and the merge. It is an X-ray mesh.
BB which is the mesh that is being cut out to make room for the…
OB which is the mesh that is being inserted into the surface.
This is a system I have been working on so I can expand its usage even further. However in its current state when you insert a subset. It selects the AP automatically so you have to do nothing.
Except hold ctrl and snap it to the surface. After pressing G to grab.
Then shift select the underlying surface and choose merge to finish the job.
The subsets are not built to be customized but are just me experimenting with different mesh systems so for those who long to add their own assets…

Wazou has played a major role in the initial insert system implementation however the idea of user added inserts have been taken to another level with Asset Manager or AM for short.
Users of AM will be pleasanly surprised to see that Hard Ops utilizes the AM plugin in its menus when present. You also have an option to turn if off if you wish to keep them separate. The support of AM was an important thing to me personally and even if it’s not present you still have inserts to play with. Consider our insert system a demo of what AM is capable of.
AM would be it’s own post and they already have documentations so check it out.
While we’re still discussing inserts. The classic insert system has been upgraded immensely and is using an entirely different system. When you insert meshes to faces they are already sharpened and have material groups for quick mat layouts. They also insert in a modal scale mode so you can perfect the size before applying.
The internal process of inserts was rethought and re-coded with an entirely different approach than before. Thanks to the python the inserts are more stable and better than ever. Not to mention the on screen messages and the auto grouping upon insert.
The insert system of Hard Ops is quite different than previous versions and also has a tear away version so you can have it on the screen for a moment. And thats not all!
There’s now an asset scroller for cycling through them without the big window. Just in case you’d like to try it.

“The Python” implemented quite a few features this release and also rewrote many of the sharpeners to increase their stability and to get them to interconnect. So Csharpen calls on Ssharpen while Csharpening.
Rebool also has support for Cstep/Sstep mode where it will keep the mesh status.
Theres many small glitches that have been fixed for example the menu not showing when nothing was selected. Or the menu not showing when there were no objects. “The Python” fixed that.
The settings area has also had some additional parameters added for convenience. For example there is an option to rename an object. Or make the name display in 3d view.

These were more options that were an inconvenience to locate manually. However if you think that’s it, we’re only getting started.
In addition to renderSet improvements I also added a parameter for the cycles samples for times when I just want to boost it a little. If you select a camera the options are a little different. This was also something that I felt needed to be done since sometimes the N panel can be a visual mess to sort and find things in.
Under Operations there is a panel you can use to set the bevel segments on an object to something else. It has been surpassed in usage by B-Width but is still available.
Some of these options may seem excessive however they are just ideas to see how well they work. I might do a poll on how some of the features are working and see about removing some but that’s for later. I like the usage at this time.
The goal is to have some smart context menus that come up with Q for particular options with parameters that are useful to the users.

The next topic is sure to cause some disputes.
The Pie Menus have been upgraded. As have the Menus. As have the Panels. In fact completely rewritten.
Since version 006 the pies have fallen into disrepair and behind on the latest tool enhancements. So we took the opportunity to rewrite their logic and make them behave like the menus themselves.
The menus are 3 options / Operations / More Options
So that same thought process was taken to the pie menus.


While the arrangement may seem odd this is AR’s take on it for the 007 version. It contains the same psychology of the menu with the arrangement being optimal for preventing the 3 main options from being the spotlight. There are also boolean options when multiple meshes are selected thus reducing the need for the 2nd pie menu. Also inserts show when nothing is selected.

The pie menus had been ignored for a bit previous to this so it’s good to have them usable again. There’s even more feature and glitches to go over however this should suffice for an introduction to Hard Ops 007.
I hope everyone has been enjoying it as much as I have and I thank everyone for their support. Without the immense team you see in the credits and author list this plugin would never be what it is now. I hope that the future holds many more enhancements and improvements.

Also demos galore!
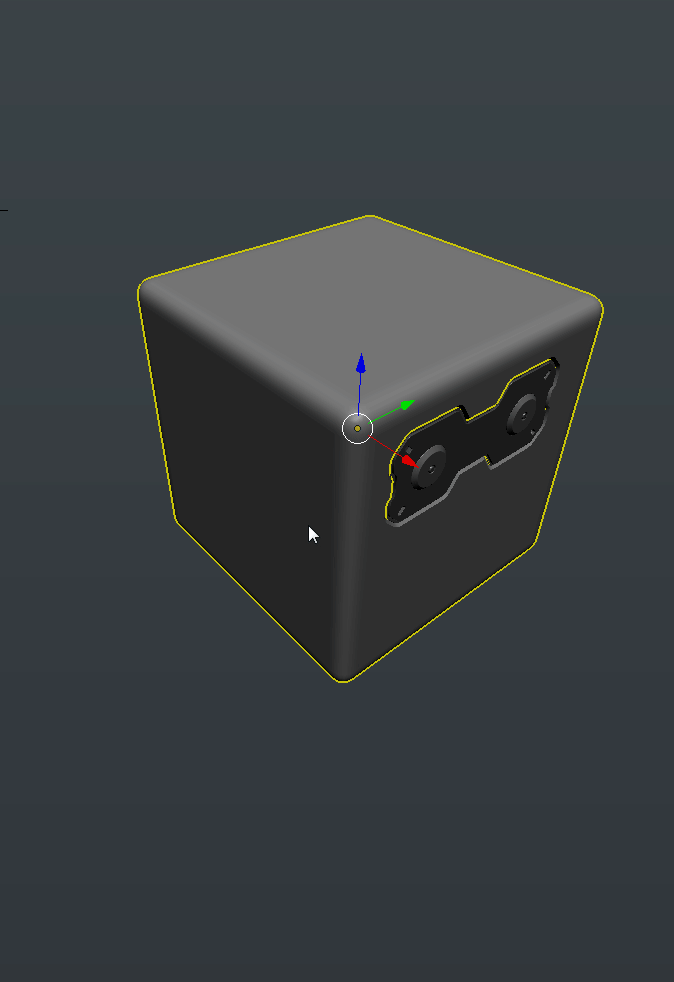
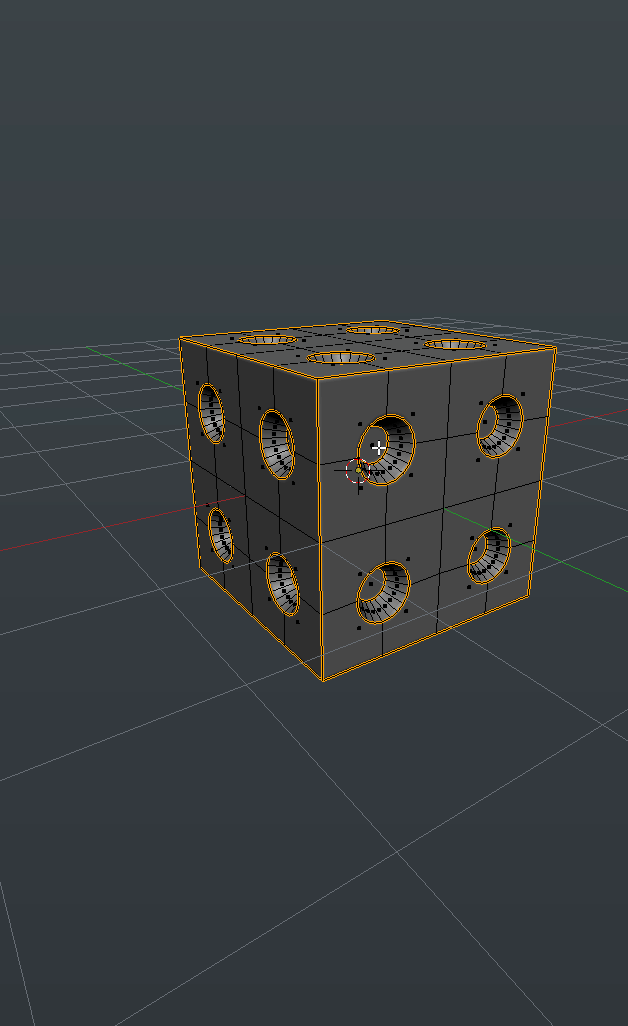
So cubes are how I have come used to testing Hard Ops quickly. Over the course of this adventure I am proud to see these cubes looking more and more serious. I implore everyone to try on one before diving in just to make sure the tools are working as predicted. Its a hoot.

Can you make a video showing every single part of the add-on in detail? (An updated version)
eventually. however it should be quite clear through the documentation and the 800 demos and the guides. So I’ll do it in time.
I tried installing it, but it doesn’t work
reboot your pc.
I Restarted still not working
i recommend installing the plugin by copying it to the folder for addons
windows: C:\Users\USER\AppData\Roaming\Blender Foundation\Blender\2.78\scripts\addons
mac: right click blender.app and go inside
also you must be using the latest version of blender.
https://builder.blender.org/download/
Ok, after much testing, I was “unzipping” the file casing the issues. for everyone point “addon” to the .zip file.
Love what you guys are doing. Dropping in to check out the new update.
When I saw Pizza Ops, I fell out of my seat.
When I saw that it actually worked, I fell out of my third story apartment
I love it
(The menu is a bit too narrow though)
I got plans to make it more funny.
Hello.
Great, awesome addon.
However I’m not being able to make it works with PIe Menu addon as with version 006.
Was easier (to me) there to change keymap.
Since I use a tenkeyless keyboard, It’s easier for me to use Pie Menus.
What do you advice about make those addon work together ?
Thanks
editing the keymap still exists however its a little different.
Hope that helps.
Pie menus, I need to turn them of to use the Q keyboard menu cannot use Pie and access the Q menu. Sym is always + now but I like to work on the – side. Can sym be changed to go -?
ill look into that.
i made an update just for you. Redownload the latest version and now theres a pref for reversing the xsymmetry
Great addon. Thanks for the quick response. Is it possible to change this on the fly through the Q drop down menu ? Still figuring out my line of work with this.
Again thanks !
I love what this plug-in does. However, when I tried to install the update, started running into problems. Yes, I have rebooted my system several times. The Add-Ons screen shows that version 0073 has been installed, but I don’t get any of the preferences you showed in the video. Moreover, the panel on the main screen says at the top I am still running Hard Ops 006. If I disable version 006, then it all goes away. Clearly, version 0073 did not install correctly.
I tried to make a screen capture, but the comments section will not allow me to paste it in, or upload it.
the preferences have been changed in the final version but as long as it is enabled it’s fine. After that its just pressing Q to bring up the menu. We removed the add on messages since it detracts from the intentions of the add on and was causing issues. If you still have issues email me at masterxeon1001@gmail.com and we can sort it out.
Try removing the previous version instead of just in checking it.