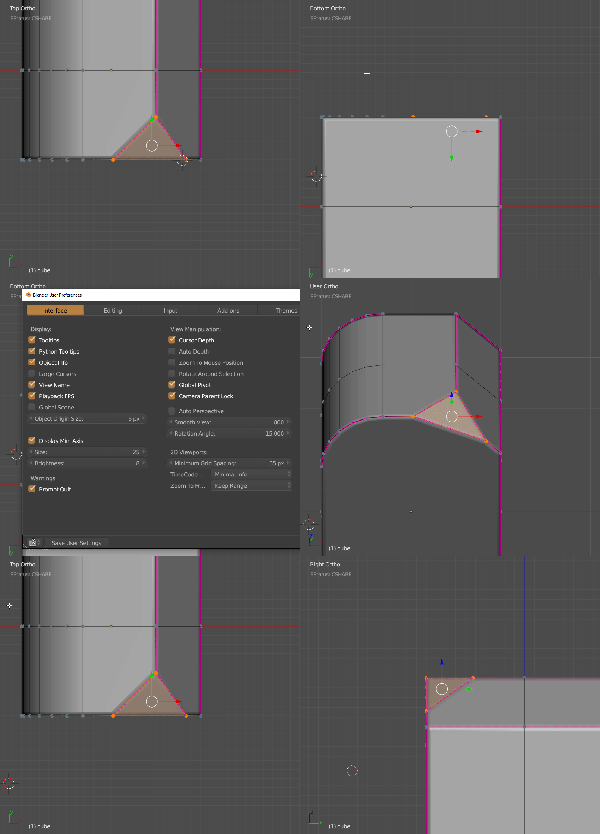
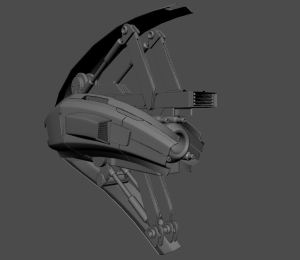
Boxcutter 719 – Seax Release Log

Boxcutter has been through quite an adventure and while the new feature list is short, I felt a moment of reflection was needed to get everyone up to speed on Boxcutter as it is now.

Boxcutter, like Hard Ops has many nestled threads and interconnected paths of tasking to dictate the next level and provide adequate functionality for every step. One of the paths is the “Classic” path which encompasses the legacy feature of old boxcutter that still has not been remade in the 2.8 era.

This release is kicked off by the return of a fan favorite legacy feature finally up for remake in this generation. With formalities aside I am happy to announce the release of Boxcutter 719 “Saex”.

A release log was prepared to kick off this event.

Installation is the same as always.

Boxhelper Default

The Boxhelper is now default. To those unfamiliar a video was prepared.

Ngon Points V1

Ngon points was one of the most popular classic features of the past that is now brought back into the current time. Anytime during ngon pause or tab will show points allowing for translation.

Translation was the focus of this V1 of ngon dots.

Lasso point were also omitted from this round due to unique rules.

Bevelling points will come at a later time. It was just too much to crunch on for this round.

In the video above it can be observed that last point is supported but it also supports grid both dynamic and static.

Deleting points is also on the list of things todo. For the goals envisioned ngon will need a special edit mode. But for now the goal of translation is the purpose of this release.

Bevel Management

Bevel management refers to how we behave with multiple bevel mods in boxcutter in this case. Previously the segments would be rather random and not able to be respected between uses. This drove me nuts and I am happy to say it is much more logical.

It’s small but I just needed a little sanity with bevel and multi use to reduce keypress overhead.

Multi-Scene Improvements

Collections required a degree of improvement to work better with multi scene workflows. With this update it is now possible all around to work with multiple scenes without issue.

Sort Overrides

If I were asked what is sort, I’d reply it is the nanny state for modifier management. As with any system of automation it can turn against it’s human masters. For that reason we wanted to add overrides to sort.

Overrides in this context apply to the modifier name and prefixing it with a character.

Space – Ignore (will not be moved by sort)

Underscore ‘_’ – Stop (will not affect any modifiers past that point)

This is an advanced topic however is essential to all who work with modifiers. Sometimes when working you want to freeze or lock a stack from edit and this is that.

Sort depth also plays a role in overriding sort.

The goal of sort is to have something powerful, effective, and behind the scenes assisting with modifier management. Eventually it won’t even require awareness due to just doing what is needed but sort is there for you if you need it and can be disabled with ease.

Ortho View Align

This option allows for view align to be predominant in orthographic.

Autosmooth Adjustments

Make, Knife and Extract will no longer adjust autosmooth on the target.

This makes boxcutter a little more reasonable in cases where it is not needed like subdivision conversion.

It became apparent through casual use that having auto-smooth set by knife operations is not only illogical its not what Blender would do for sure. Extraction is a non-cut operation and thus should not affect the target at all at any time and make is just a make based on the surface of the target so adjusting it’s autosmooth was unnecessary.

I probably should have realized it then.

Now autosmooth never has to be off for me.

In Closing P1

And with that the Boxcutter 719 event kicks off. However before closing I’d like to recap some of the buildup to this moment worthy of the release log so will be included now.

I hope everyone enjoys the latest update. We continue to put our all into it. I am forever grateful to the team for the continued efforts despite life, despite setbacks. It is in adversity that the true us arises.

Boxhelper Default (continued)

The initial pie was made on the inception of Boxcutter. Over time our needs have grown as have our need to present additional items to the user for a fluid workflow. The boxhelper was made to facillitate those needs and is now default in Boxcutter.

For users attached to the pie an option exists to go back to the classic style as well.

Static Grid – Shift + K

Static grid is the alternative of the dynamic grid in boxcutter. It also has a few extras that the classic grid does not. For example, shift + K will knife project the grid into the mesh allowing for quick grid cutting if needed. As of 718_12 it has the ability to cut individual faces.

Custom Auto-Proportion 1:1 Mode

Custom once played by the rules of box which I had issues with. Box requires 2 maneuvers before extrude while I felt custom should be 1 gesture period. Including extrude / lazorcut (cut through).

Auto proportions can be enabled in the Boxhelper or in the behavior panel.

If desired one can still draw with box behaviors and flexibilities.

The goal is to ensure that when a custom cutter is used, the proper proportions can be had without hotkeys and depth be provided automatically. Resulting in a 1:1:1 cut.

Even Ngon supports 1:1 behavior.

Autoflip X/Y

If a shape is pulled over itself, it should flip. That is all there is to it.

Easier said than done but now it is a thing.

Dimensional Recall

1:1:1 recall. Just like with custom I need to recall shapes in the same form they were made.

Reverse Bevel Recall

Reverse bevels are easy to make but not so easy to recall. A long road was walked to get to this moment but my eyes remained on the prize. To recall a reverse bevel shape without flipping, unintended normal correction or deviated from the initial shape.

Ctrl + R – Rotate By 90°

Shift + ~ will rotate a shape inside which is useful when keeping the bounds but sometimes you need to flat out rotate the entire shape. That is where ctrl + R comes in.

Inset RECUT Return

I am well aware of the difficulty with inset. For that reason a playlist was made.

Recut is a way to base an inset off of the initial unmodified mesh. This expands the usability quite a bit and is needed for the success of Inset. I am happy to announce it is back greater than ever.

Box Grid (cut) Backface

I want grid to align. However I also wanted grid to cut. With our grid cutter is became apparent without backface the separations wouldn’t behave properly.

A small thing but essential to Boxcutters grid cut.

Someday I wanna cut grids.

Perfect Wedge

When it comes to wedge it needed a method to make perfect wedges. By holding ctrl on extrude it will jump to the proper wedge amount to remove the guesswork.

Wedge is just handy when needing to make surface differentials. Any shape can be wedged from circle to lasso. Just press W.

BC_transformer (Improved Clone)

The bc_transformer is now capable of duplicating more shapes than ever including radial arrays!

Circle (P)

To reverse bevel a circle a new circle had to be made.

There is much to this circle compared to the previous which explains why it is the new default circle.

Sound Effects Forward / Back Buttons

Sound effects can now be forwarded or reversed to previous sfx allowing for user to try and experience them more fluidly.

Extraction Fade

Extraction needed a force feedback to indicate the action used. Extraction fade aims to fill that hole.

Dynamic Grid V3

“Don’t get me started on grid”

The dynamic grid remake was quite the undertaking. In retrospect, It was an adventure but repairing a central pillar is never an easy task. I applaud the work of proxe and loof towards getting this to come out in the form desired. For those requiring something more classic there is static grid.

In closing P2

Alot has happened with Boxcutter to this point and we are nowhere near done. There sits a couple of things that await deployment but the question is how to fit it together cohesively leaving the most minimal of holes. I hope everyone enjoys this latest version and if you are interested in the progress up to now, a playlist has been prepared on the topic.

Hard Ops 8 Release Notes

It is with great pleasure that I present to you all Hard Ops 8. This release was focused on refinement and cleanup. I’m sure by saying that, we have cursed ourselves with new bugs. In the rush to 0079 it became apparent that a moment to reflect and refine existing systems while cleaning out antiquated code was needed. This release is a multi-part where we will expand on the 8 release with additional features. I just wanted to get you guys on the same page so I can at least demo the software without being in the future.

https://gumroad.com/l/hardops/

DO NOT USE INSTALL FROM FILE. IT WILL NOT WORK! Also user defined directories have issues also!

I recommend putting the contents in the zip in the Blender Add-on directory of the system. Installing from file may have an issue.
My installation path is here on windows.

C:\Users\ME\AppData\Roaming\Blender Foundation\Blender\2.77\scripts\addons\HOps

On Mac : RMB on the blender.app and select show package contents

On Linux: ~/.config/blender/2.77/scripts/addons

Updates of 0079

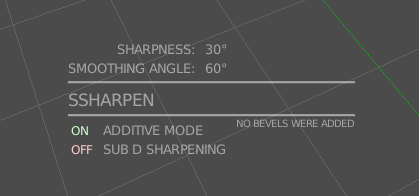
So first things first. Hard Ops has a different drawing system. This differs from 007 and 0079. The initial system was designed by myself and JL, however for this release AR took a shot at redefining the Hard Ops drawing. This was something we were experimenting with in 0079 however now it a part of Hops 8. This is still something being refined and we have much more planned for the updated drawing system.

blender_2016-05-27_21-59-13.png
Old System

2016-05-27_22-12-51.gif

blender_2016-05-27_22-00-05.png

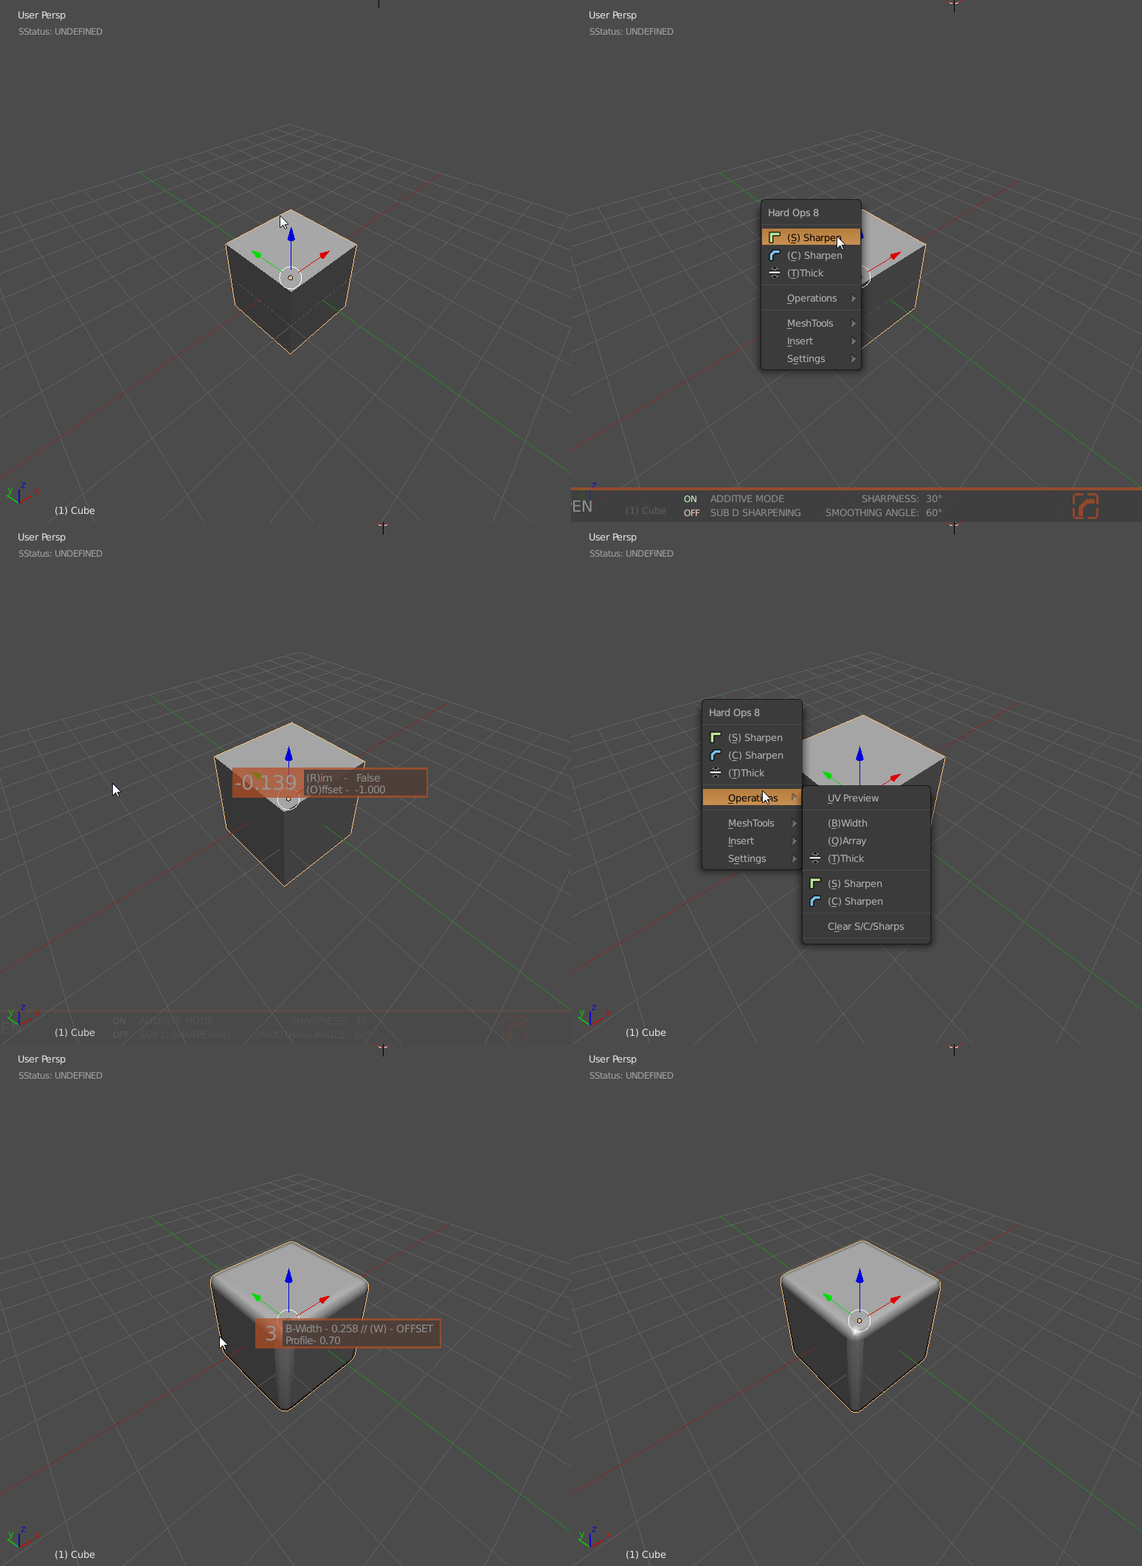
The newer system is a bar at the bottom of the screen and was just an idea to make it more appealing in full screen. Also to try and present it as a notification.

Pro users can turn it off if needed but we still want to add clickable behavior to the text itself so that might be a thing in the future. As I said this is just the start.

blender_2016-05-27_22-01-31.png
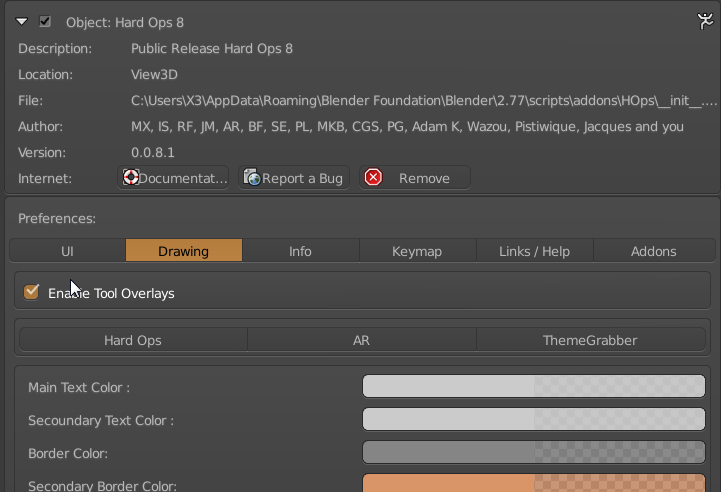
Enable Tool Overlays in Drawing Tab

The drawing panel is a new addition to Hops 8.  This is where the features get interesting.

Hard Ops >> sets Hard Ops theme to my settings (I like color)

AR>>  sets Hard Ops to Adrian’s Settings (he is a plain grey guy)

ThemeGrabber>> sets theme to theme based off of current Theme.

The theme grabber is one my favorites because no matter the theme you have. We can make Hard Ops fit for you. So I would recommend the theme grabber to all. However two alternative preferences exist.

The themegrabber was quite important to me personally and I pestered AR alot in order to fine tune it to be the way it is now. For customization, the border color and secondary border color are the two main ones that you want to change if setting something manually.

2016-05-27_22-08-45.gif
Themegrabber with multiple color sets based off themes

The drawing is just a small part of the improvements we have in store.

2016-05-27_22-12-51.gif
The New System


So the dependency mirror mirror has also been integrated. This means you no longer need mirror mirror. This was done so that it would be integrated into the new drawing system as well as expand on it in the future through Hard Ops and begin connecting it with BoxCutter.

blender_2016-05-27_22-17-56.png
Disable Mirror Mirror for Hard Ops 8

The hotkeys of alt + shift + x / y / z for mirroring across a specific axis is also still present and will resolve the hotkeys if you disable mirror mirror before activating Hops 8.

2016-05-27_22-20-36.gif
MirrorMirror in Hard Ops 8

The new features added to the Hops system we’re about to go over aren’t the most glamorous but definitely have their uses.

The first is Demote. This is an experimental option that simple removes crease and bevel width while keeping sharp. This is part of a workflow I have been experimenting with called Demotion. Which is basically the idea of removing bevel weight and immediately beveling manually. I use this feature quite a bit so it has been added to the edit mode Q menu if pro mode is enabled in preferences.

2016-05-27_22-26-08.gif

After demoting a selection I am able to bevel it manually. This is something I want to expand on further however at this time. It is a manual form of cstepping in my opinion.

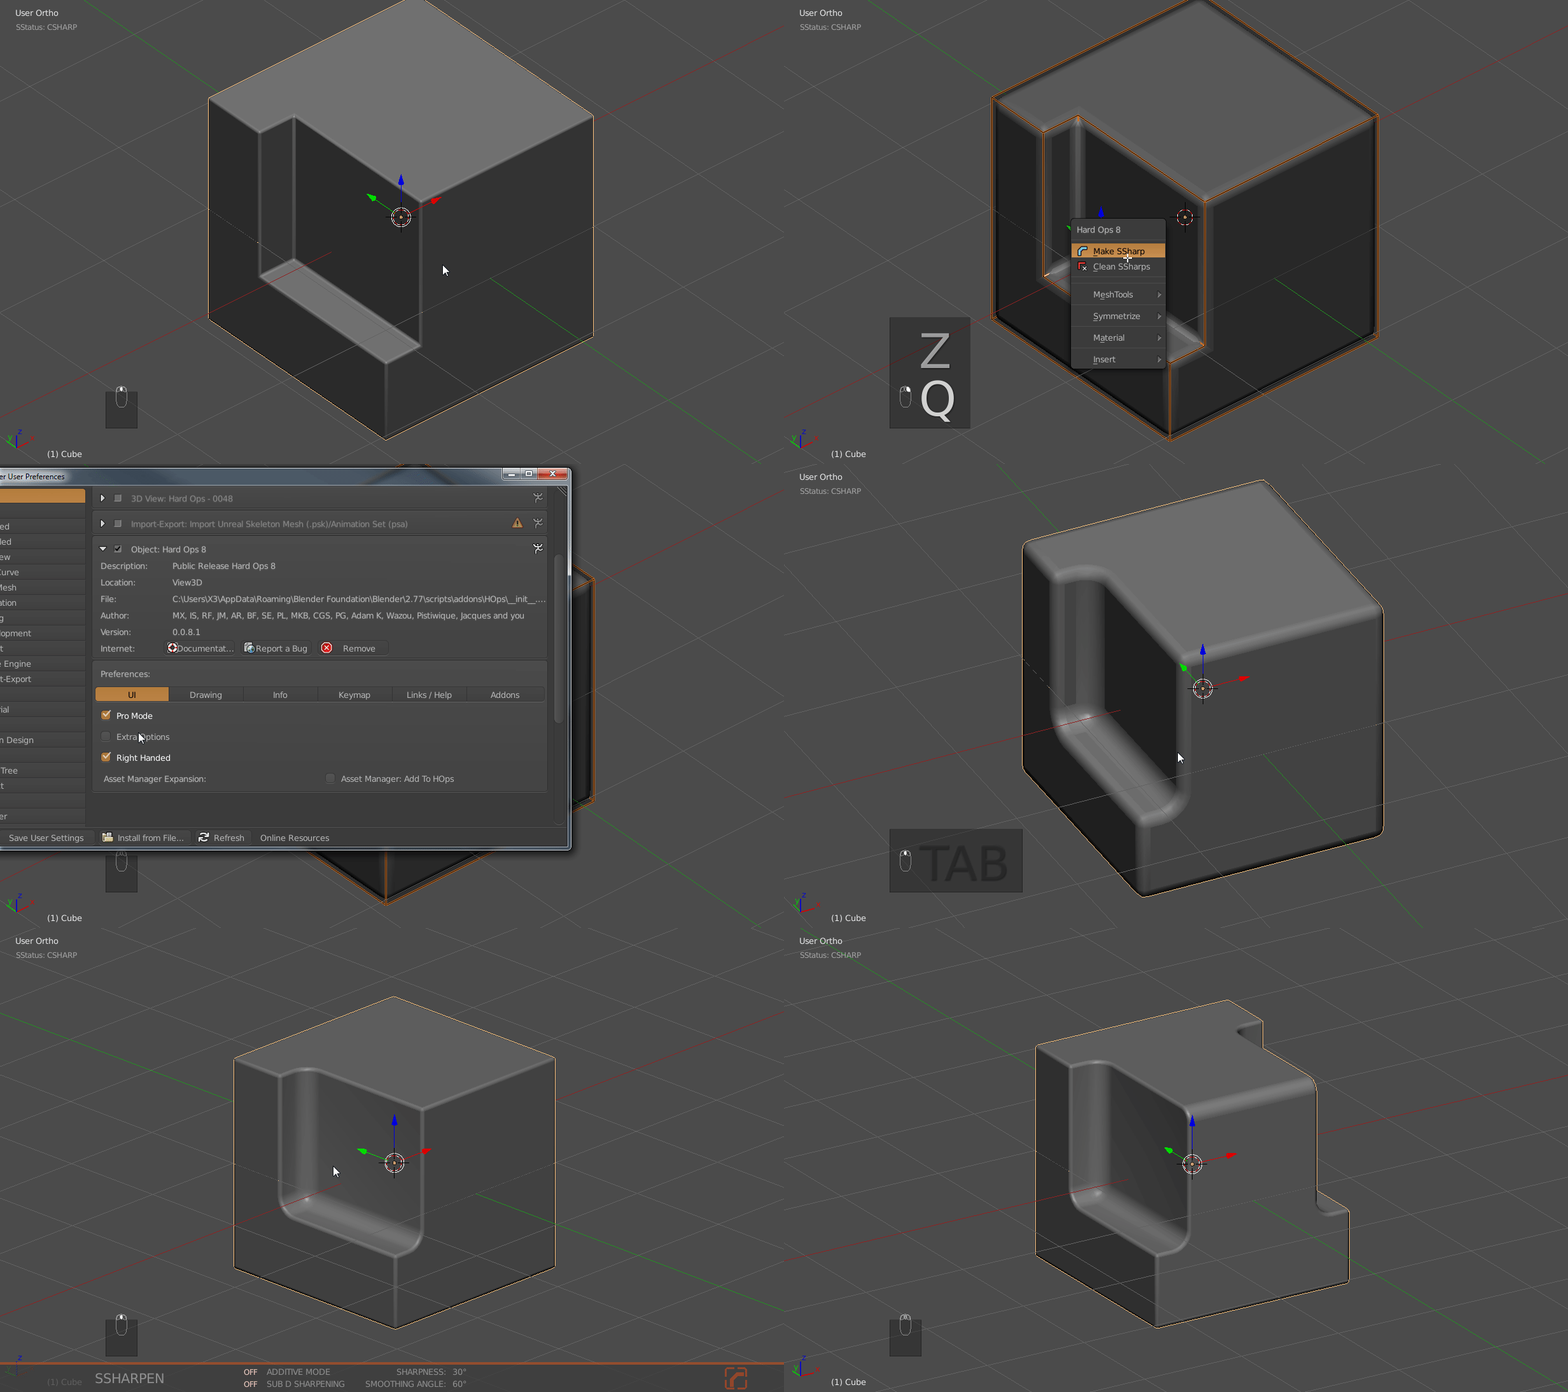
Technically it is the clean ssharps without the clean sharps checked. Its just quicker than clicking that and pressing F6 then clicking twice.

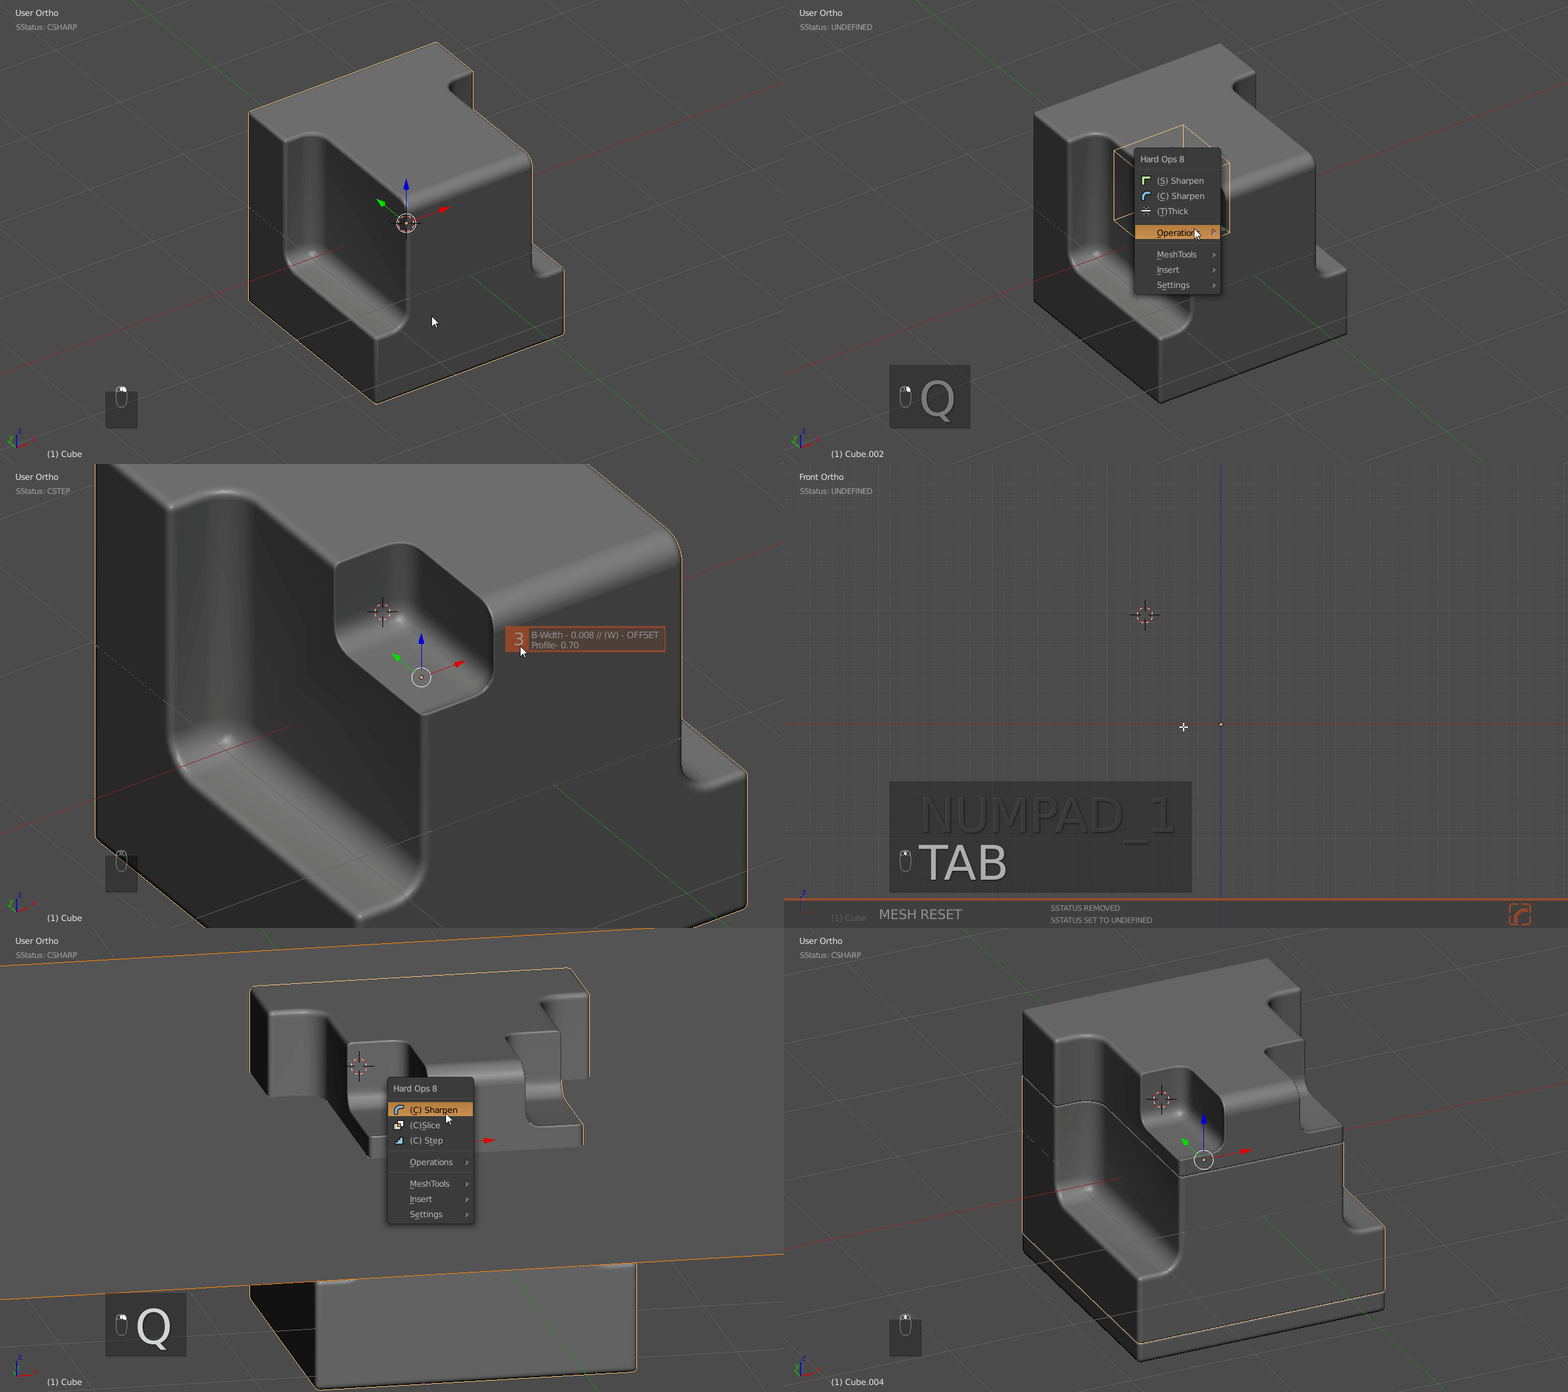
So the next essential but less exciting idea is sstatus reset. When you take a mesh and csharpen it. It’s sstatus changes and therefore so does the Q menu that comes up. When you want to reset it back to the start without affecting the mesh or modifiers, you now have status reset. It is like status override except the only state you can return the mesh to is undefined meaning it is handy for starting over the Q menu process. I may do a video or blog post explaining this down the road. But the idea is that the menus will realign due to workflow and be adjustable for particular workflows and adjust dynamically.

This is all theoretical at this moment but expect it to be fleshed out by project’s end.

2016-05-27_22-35-40.gif

In the above image, I went from  undefined, to csharp to cstep and back to undefined in order to keep the menu showing the items I want.

This is aimed more for those who are quite familiar with the ideas behind Hard Ops and are utilizing the sstatus system.

Additionally there were many glitches that were nuances that  have been resolved.

Csharpen / Cslice / Rebool – now keeps your bevel information without modifying it at all.2016-05-27_22-43-09.gif

This was a glitch since the start and was something I was used to. Over the course of Hard Ops it was harder to find but come version 8 it was resolved as soon as it was pointed out.

There was also quite a bit of code cleanup so I expect a few bug reports. The benefit is its lighter to load and isn’t wasting your memory with antiquated operators that have been remade many times over.

Boxcutter integration was also a large focus for Hard Ops 8.

https://gumroad.com/l/BoxCutter#

While Boxcutter is a separate project with a separate team the leader is our own AR. We have been working on both Hops 8 and Boxcutter at the same time and there have been many small improvements made to empower both tools.

This part is about Boxcutter integration.

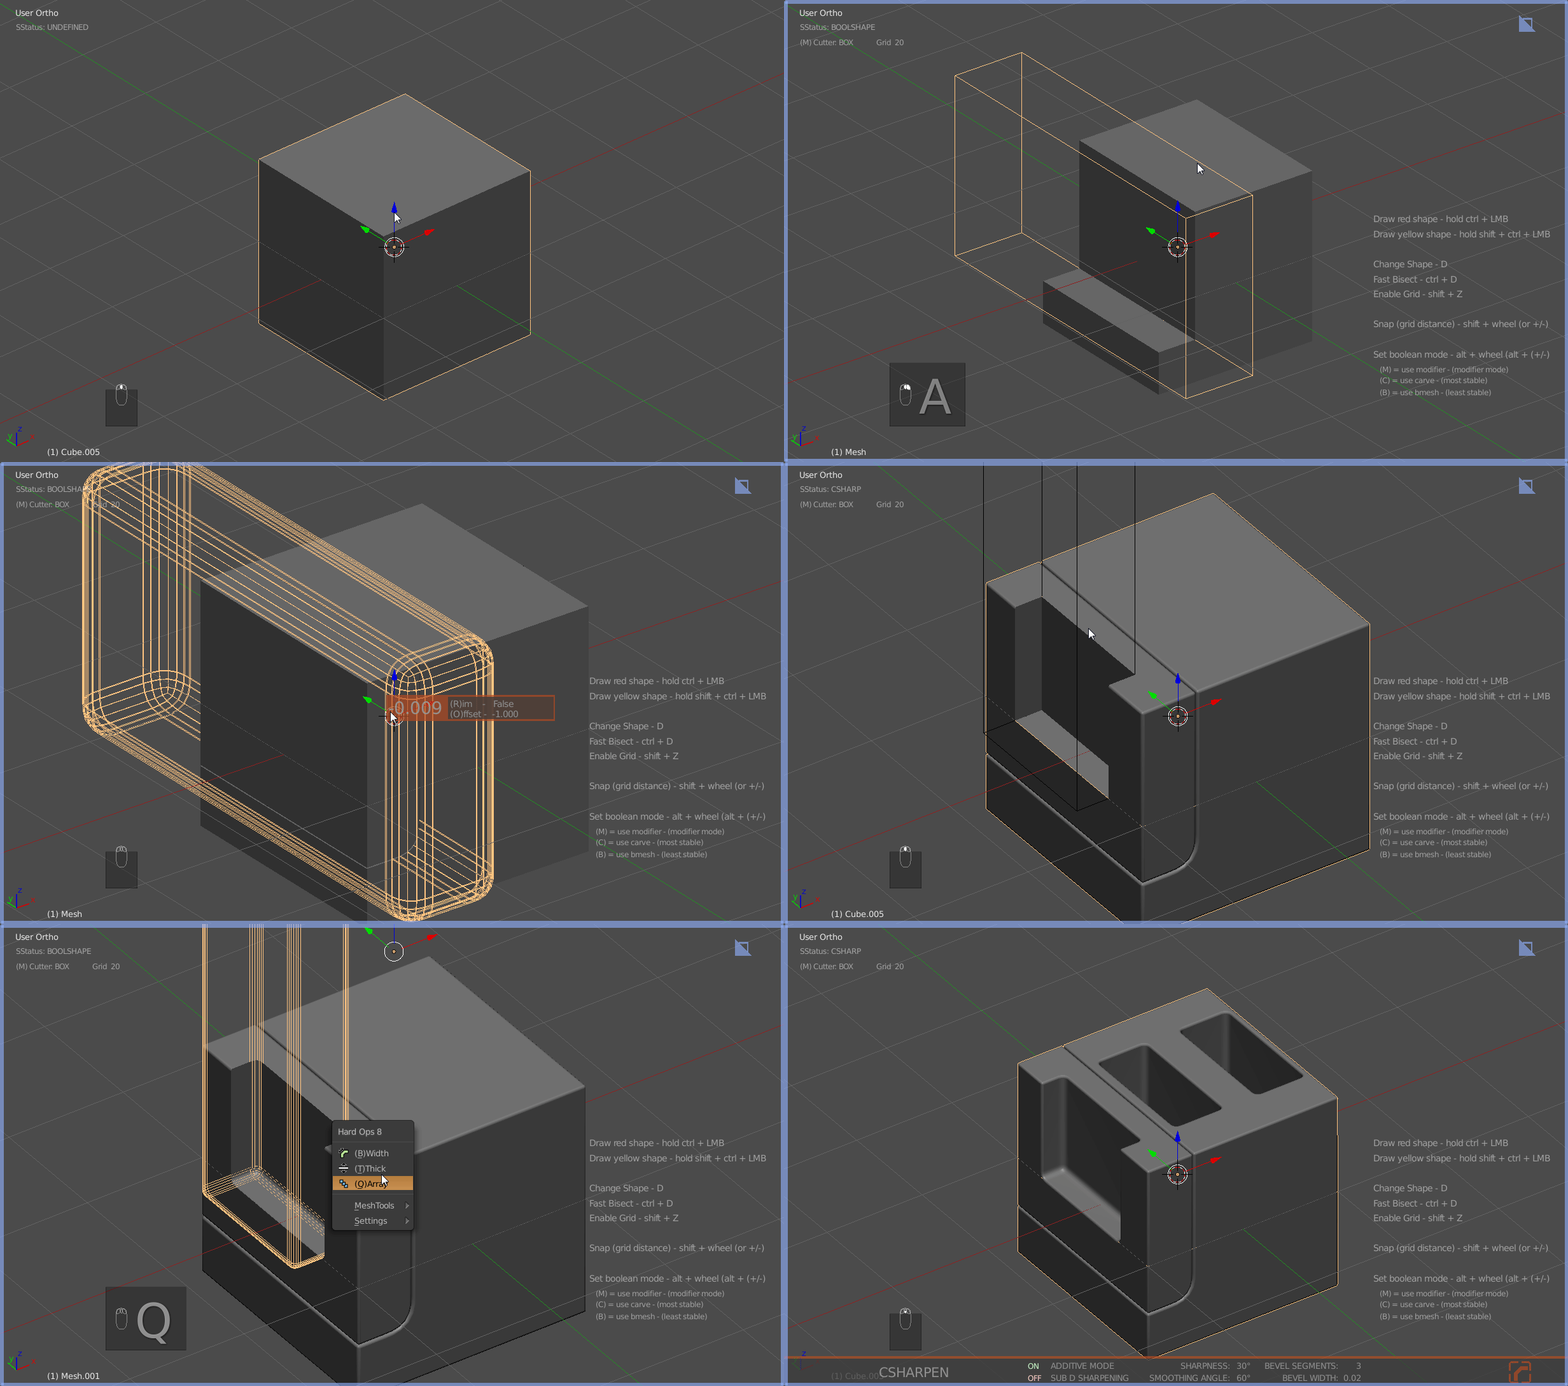
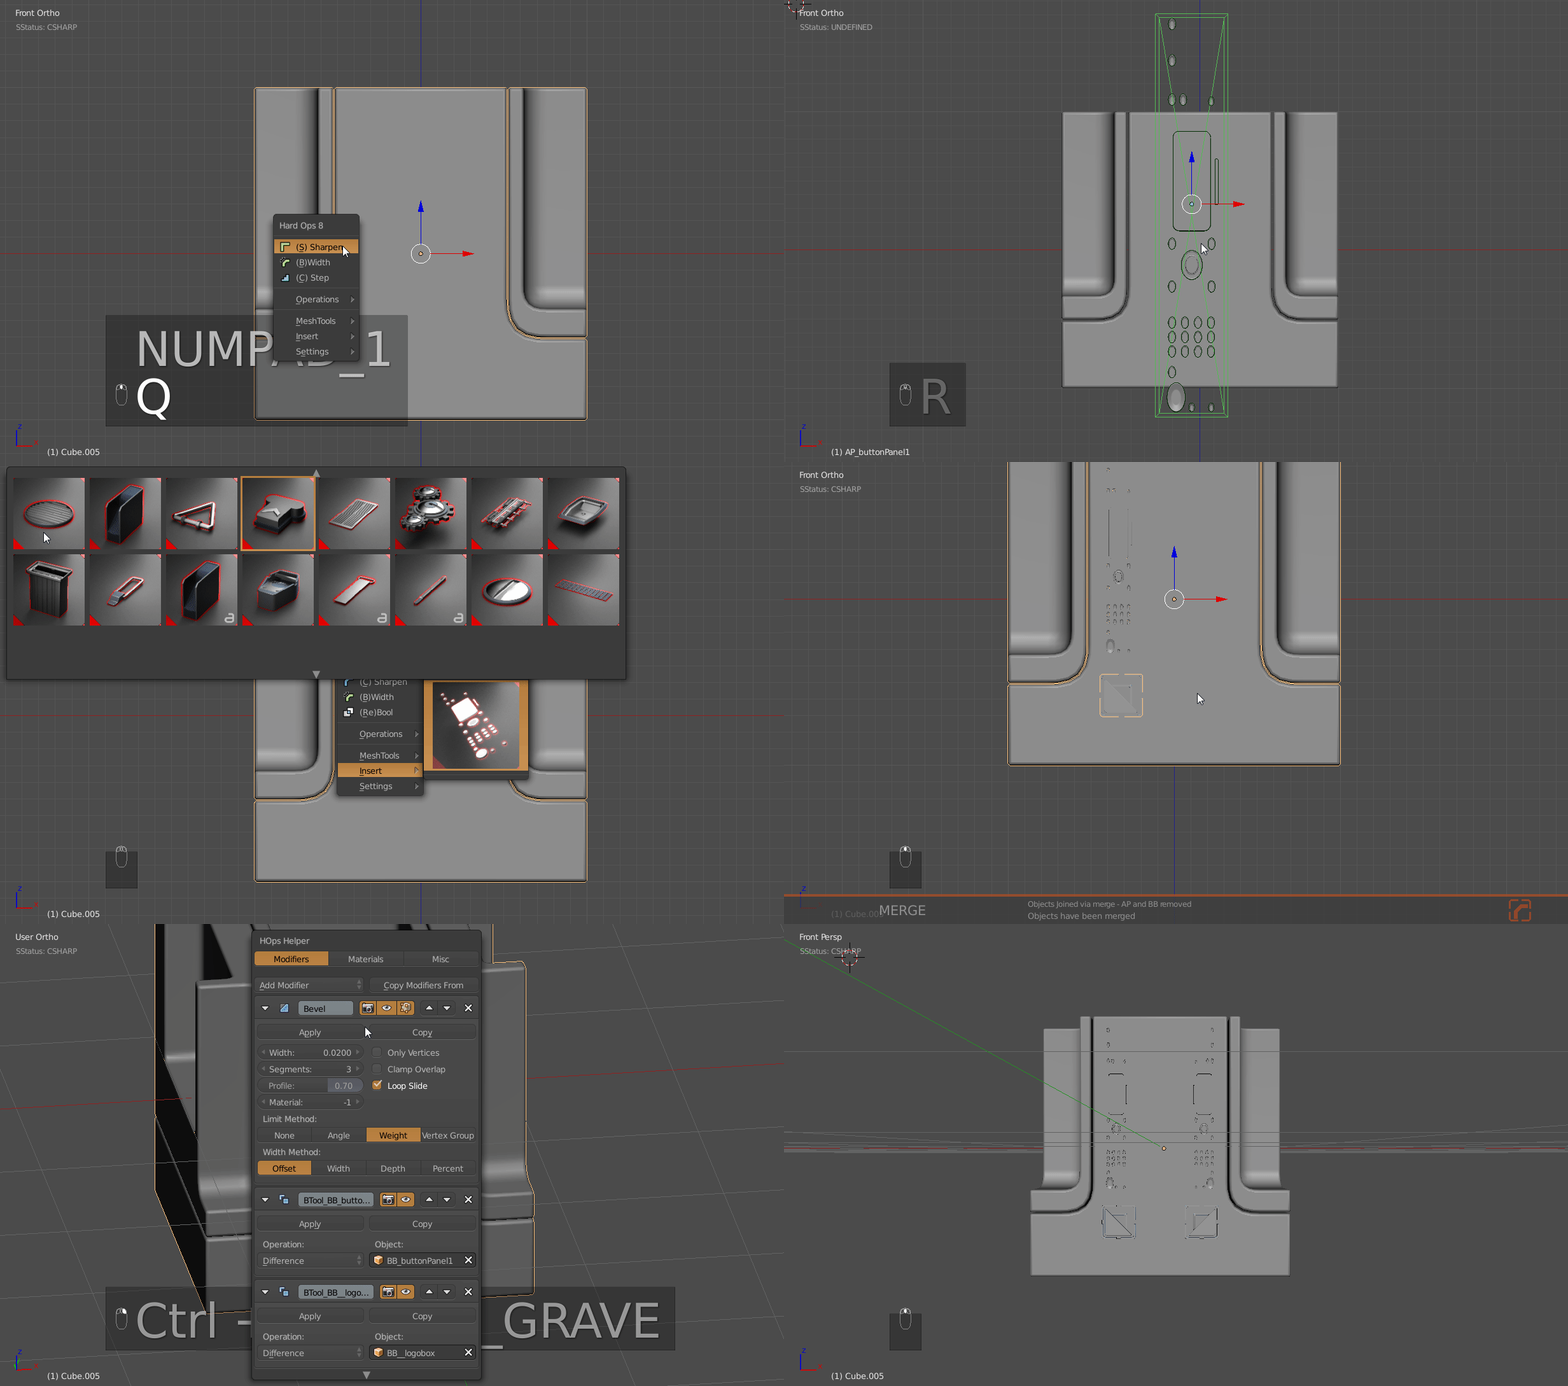
When you draw a mod shape now the mesh is given a status that gives it a special menu. This menu allows for Hard Ops functions to be used quickly for box cutter mod meshes.

2016-05-27_22-51-45.gif
BoxCutter 4 Coming Soon

This was something I discussed quite a bit. The ideology of box cutter is no menus and panels. So the connection with Hard Ops was a no brainer. Now boolshape meshes will have a menu with bwidth (which applies no sharpening), array and tthick (which allows you to panel a boolshape instead of cutting).

If you want to make the object real. That is what the sstatus override is for. To reset the status and start over.

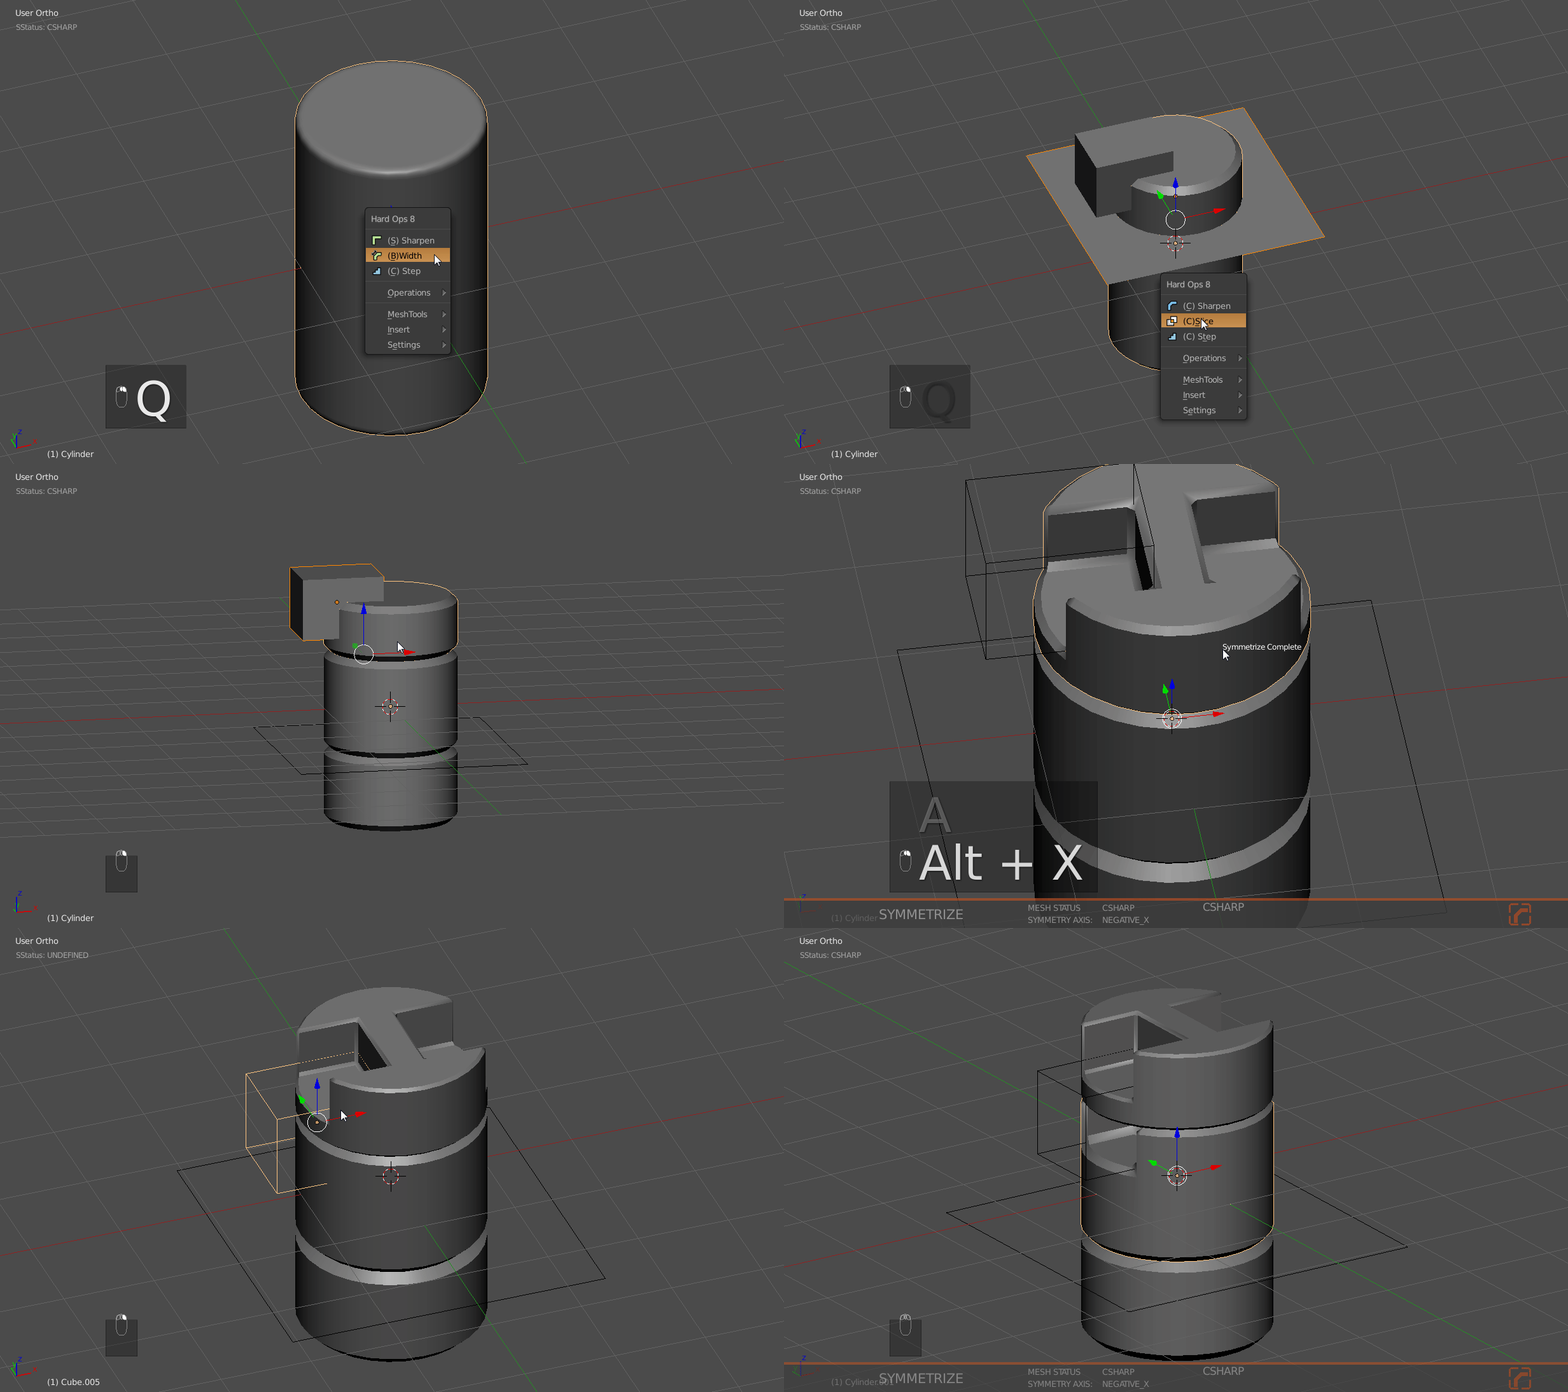
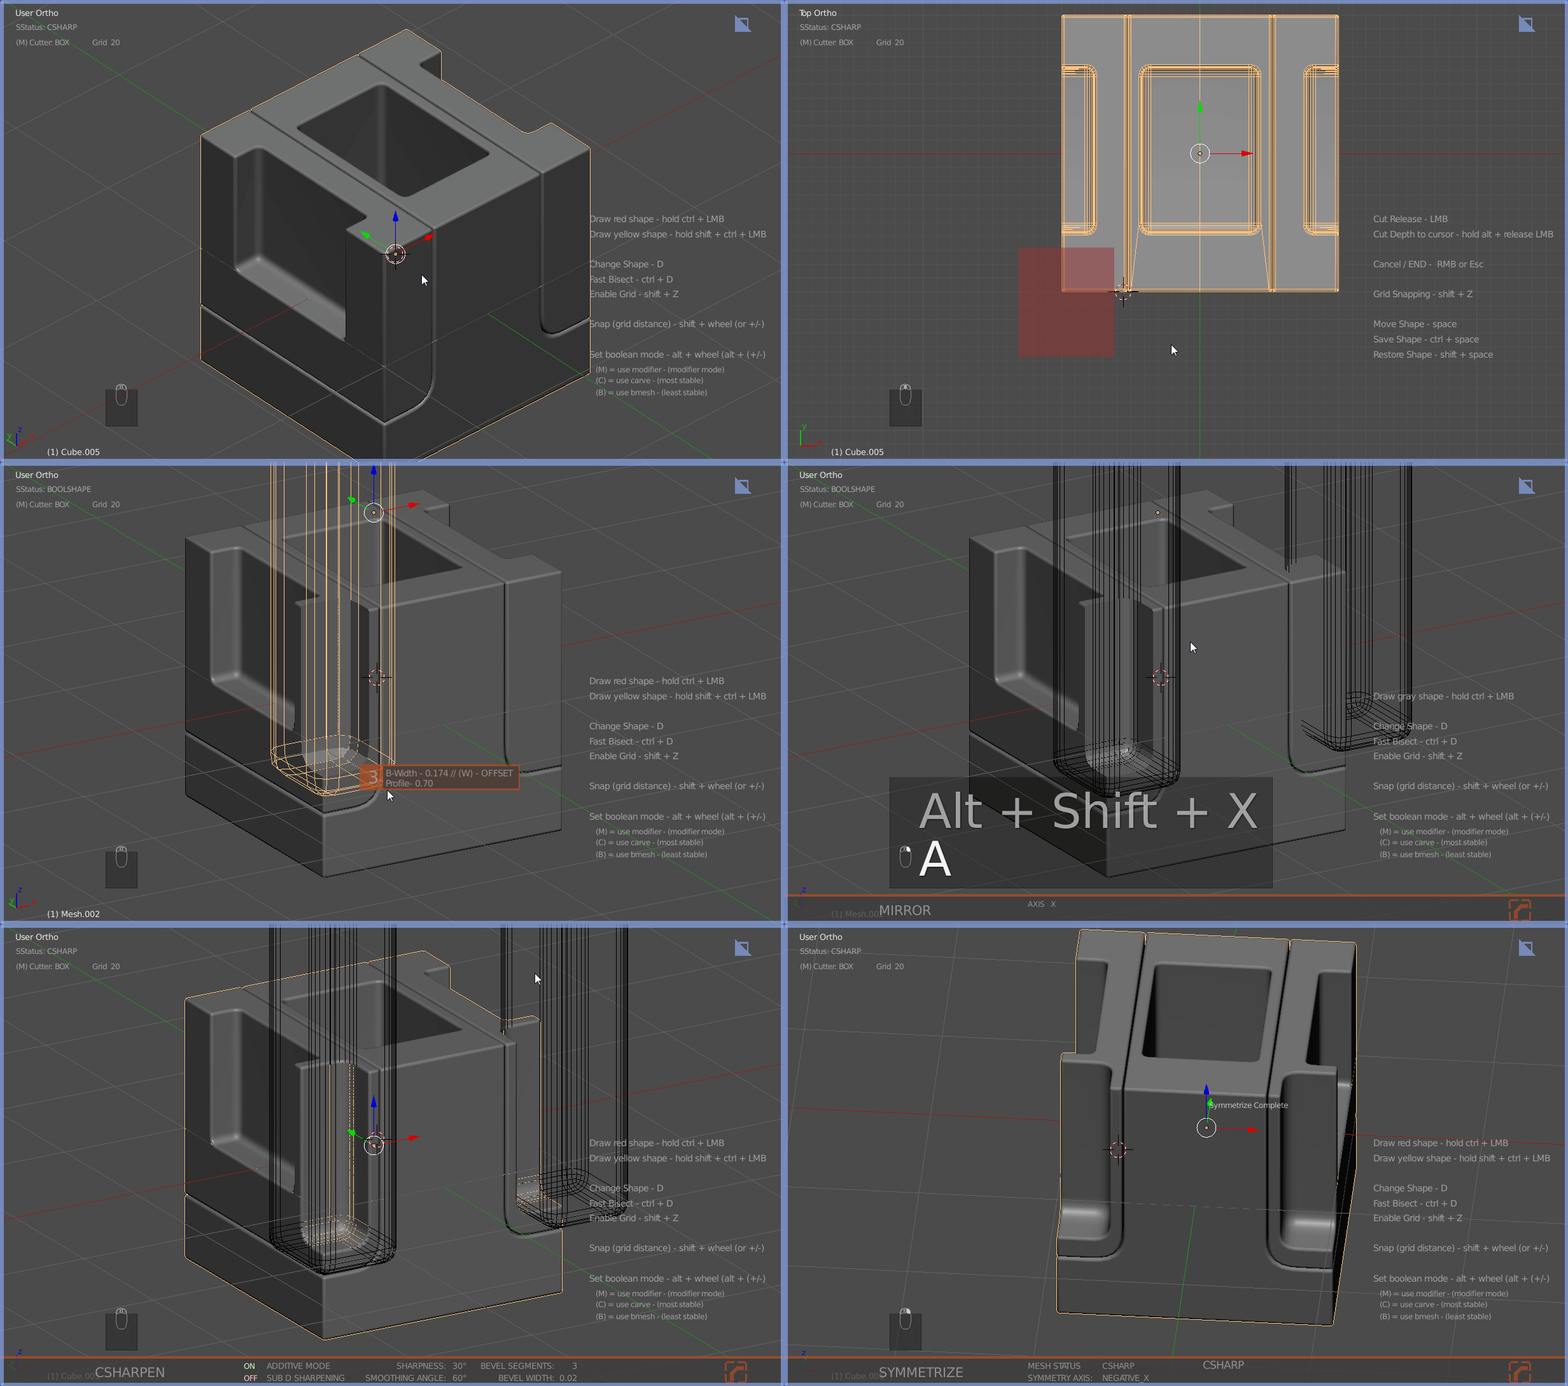
The integration go a little deeper however on the surface this is what is most noticeable. You are also able to use mirror mirror with modshapes in order to boolean with symmetry.

2016-05-27_22-57-06.gif
Mirroring Boolshapes

This is something we may expand on even further in the upcoming updates however this covers most of what is new in Hard Ops 8!

Also 2 new inserts! I meant to add about 20 more but that may come later when the new system is in.

Box cutter logo and copy machine button panel. Just in case you need some buttons.

2016-05-27_23-11-49.gif

In closing Hard Ops 8 is a release that we plan to expand on within the 8 series with a few more special features that aren’t ready just yet. We have significant changes planned and can’t wait to show you what that is. So you won’t be hearing about Hard Ops 9 just yet. This update still is in development. So like the 0079 release I try to release it earlier to allow more time to refine and bug fix after reports come in.

I thank everyone who has been a part of Hard Ops and it’s path. I am eternally proud of the works the users put out and it is always inspiring to the team as well.

Boxcutter’s latest update is out and is a massive update.

Setting Up Blender For Success

When it comes to using Blender I feel that the user experience presented is as important as the tools when it comes to working in 3d for extended periods of time. I always talk about what I call setting yourself up for success, or starting Blender in a way that doesn’t hurt the eyes.

While I personally try to keep Blender as vanilla as possible I felt it would be good to make a post discussing my default scene and workflow.

When it comes to storing your default scene. Its as simple as ctrl + U in the 3d View. You will get a box confirming the save which will ensure the next time you open Blender it will be exactly like that. This is important since you don’t want to have to deal with mapping every time.

Ctrl + U – saves user pref

Ctrl + Alt + U – open user preferences

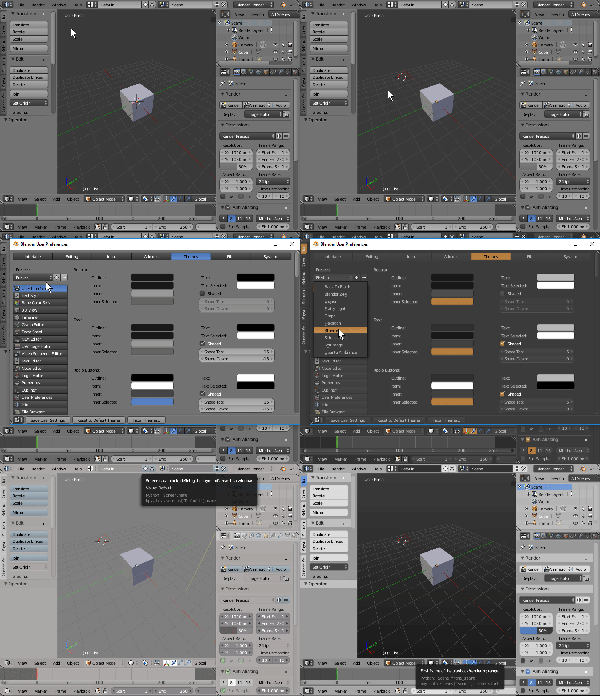
The first SFQ to take care of is my theme. I don’t download themes from other places because then I’d have to link them but the defaults that come with Blender suffice. I am also using the one from Steam so your themes may differ. Just go in user preferences and change it. Its refreshing to change it from time to time to something that matches your mood or project. It helps me get into the zone.

2016-03-30_20-04-00

While you’re in preferences I also enable the plugins I need and set up Cycles to use my GPU under cycles but thats beyond the scope of this post. However I do want to point out some useful things that might be worth pointing out.

2016-03-30_20-07-11

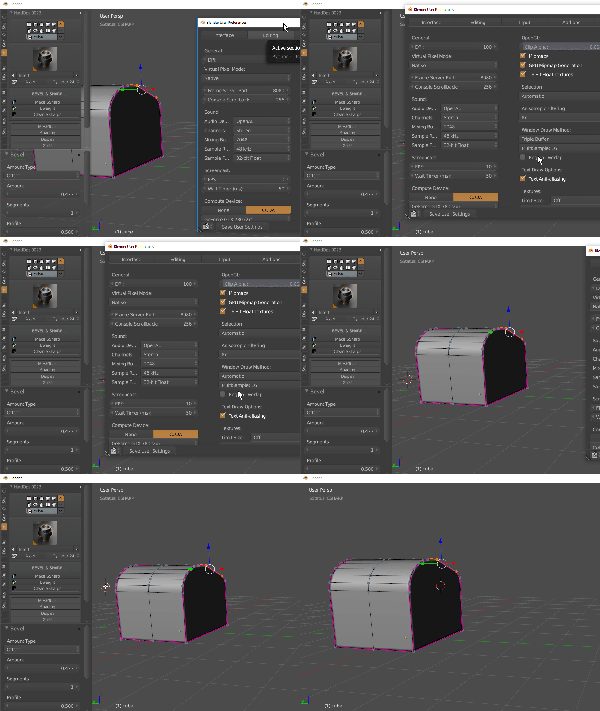
In the 3d view of user prefs there is an area where you can adjust the size of vertices and outlines. In certain cases where the geo isn’t very dense I like the larger verts. Just something worth checking out sometime if you haven’t.

2016-03-30_20-10-11

Enabling region overlap allows the T and N panels to be transparent. This is also handy for being able to close and open the panels without interrupting view-port renders plus it looks futuristic!

2016-03-30_20-13-20

Strangely enough. I also like setting my smooth view up high like 800 so the transitions from the numpad keys are gradual. Also the numpad period focus (.) is also more graceful. These things are cosmetic but it makes Blender feel more tactile to use.

Now at this point I also want to discuss quick prefs. This is an add on that you can get here.

https://wiki.blender.org/index.php/Extensions:2.6/Py/Scripts/3D_interaction/QuickPrefs

Once installed and enabled you can use this to change the default viewport shading. Personally I find this to be one of the most essential cosmetic changes I do to Blender.

2016-03-30_20-20-35

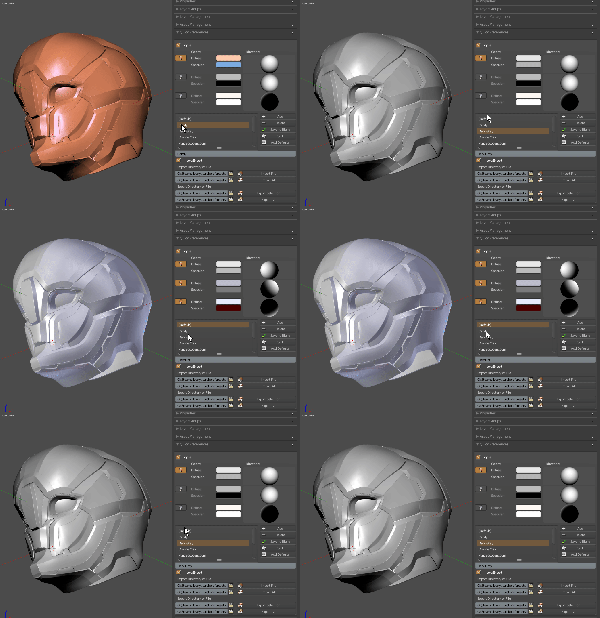
Between the default and the Dark Grey the way the forms are being presented are much different. As strange as it sounds, I feel this improved the quality of my modelling immensely just due to the fact the initial presentation of default shaded meshes might not be the most efficient for someone like me.

If your thought is, “Why not matcaps?” Well. Do that. But I prefer the feeling of the Dark Grey. So this is turned on by default and set as my default scene so now we are almost set.

The next changes are strictly for those who model with this sort of workflow and may not be efficient or handy for everyone.

2016-03-30_20-25-56

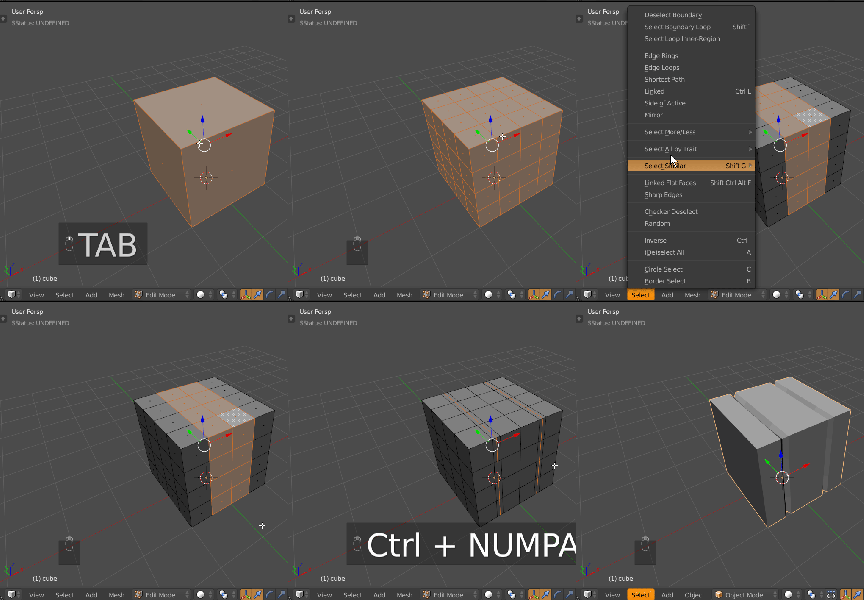
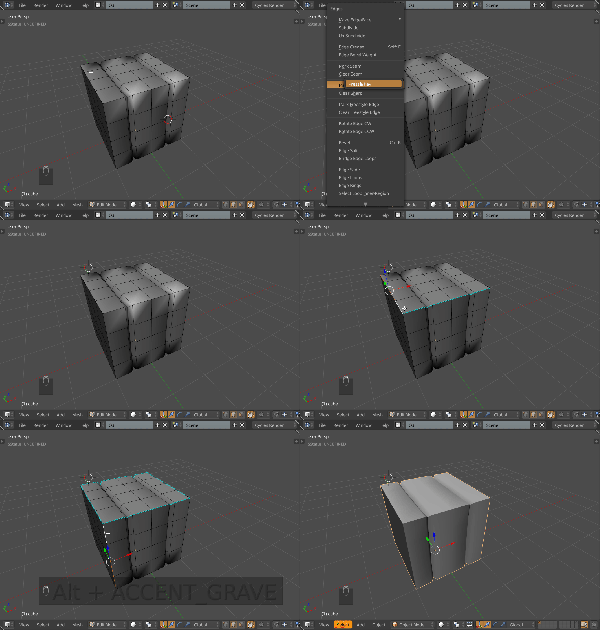
Select boundary loop is remapped to shift + ` in edit mode. This allows me to make quick selections and then get the border only. Its very quick for panel related things.

The other is mapping the mark sharp and clear sharp to alt + and shift + alt +.

2016-03-30_20-29-02

This is more of a preference however I find it useful in some situations not as many now that Hard Ops exists.

I try not to stray from the defaults too bad in case I have to use another PC or my settings are lost. So theres also pie menus you can enable to make life easier but so much additional workflow changes at once can make Blender feel alien.

Another thing is on layer 0 of my default scene is a material sphere.

2016-03-30_20-38-49

It contains materials for the blocking in phases of modelling you often see in my videos. When it comes to texturing I lean more towards PBR in my current work however having some basic materials can make quick modelling session alot easier. I gathered my materials from various sites like Blendswap and the B-wide Node collection.

http://www.blendswap.com/blends/search?keywords=materials&is_fan_art=1&blend_license=&render_engine=&sort=downloads&direction=desc

https://bwide.wordpress.com/node-groups/bwide-nodepack-for-blender/

I must also stress that having too much clutter in your default scene will make life harder so don’t go bananas gathering materials and building the hugest set of unusable materials on earth. Find those that work for you. Fine tune them tweak them and make them work for you. Alot of the materials I have I customize a small amount but collecting them is part of the fun. I’m sure everyone has better solutions for this as well however on my end speed is the game so I try to keep  it all flowing.

For PBR folks.

https://matthieubarbie.wordpress.com/2015/01/12/pbr_shader-1-75-for-blender-2-73-documentation/

http://www.quixel.se/content/blender/QuixelShader.zip


I hope this clears up some things about my default scene and helps you to use Blender more efficiently to your needs.

If you need more help with fundamentals or getting started, I did a free course! Blending away the pain!

https://gumroad.com/l/blendingawaythepain#

In that I go over everything I can from basic modelling / rigging to compositing. It’s just a fun trip around the program!

Also the beloved. Blender Basics Recap!

In my personal work I am moving into mocap with the Kinnect One and Pro Body 2!

Pro Body 2 – Download Trial / Buy

If you try it get the Xbox One Kinnect and an adapter not the one for Windows!

Blender/3d: Custom Normals

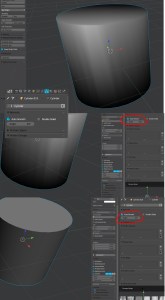
In this blog post I wanted to go over custom normals for hard surface creation. I plan on keeping it short but still I find this essential nonetheless. Custom normals exist in most applications and is essential. Maya users are familiar with the process of hardening edges and softening them in addition to locking them down. For this quick post I wanted to discuss ways in Blender to get smooth shading without all the fuss of horrible looking edges or exact tweaking.

CN1

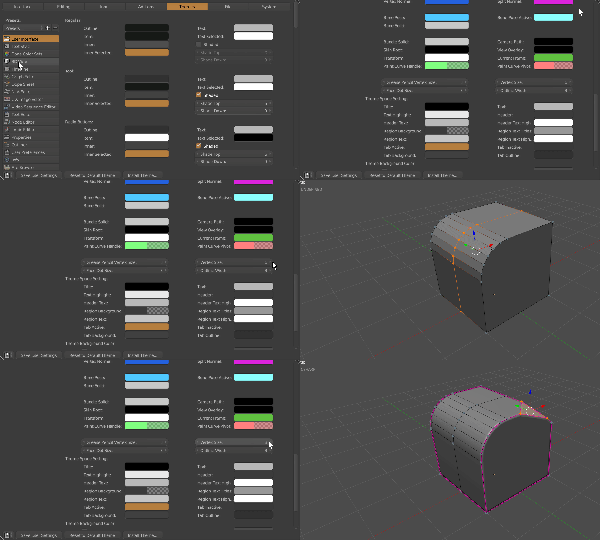
The first image above shows the mesh on flat shading without any smoothing. While it looks moderately acceptable, for the baking it will show unwanted faceting and make the normal/height show stair stepping that would be undesirable for the final result. When I click set smooth all my problems come to light and show the roughness of my workflow of booling insane amounts of shapes into a planar form.

CN2

Funny enough. Before custom normals were added I used to fight with this so much and would use the split edges modifier to make life easier. This also increased the vert count substantially and made the mesh denser than the process of making it which was also a bad thing.

In the object tab there is a normals tab where you can check auto smooth and set an angle as well as turn on double sided (which isn’t needed). The default angle is 180 which isn’t going to show any difference however once you lower it down to either 30 or 60 the normals begin to look much better.

CN4

The final mesh is now ready to be exported / baked or whatever I plan to. To set manual edges you can press ctrl + e >> mark sharp. This will sharpen the edge similar to how Maya has Normals >> harden edge. I use that as well for shapes I boolean into other shapes and the amazing part is the sharp edges translate well into the subsequent object along with vertex paint, materials and even UVs.

CN5

But that is all for this tutorial on custom normals. I hope this helps you in your hard surface endeavors. Also be sure to check out my latest tutorial about modelling sci-fi floor pieces using the mesh subtraction kit.

I’ll leave you with one more image showing the process on a basic cylinder to help drive the point home.

damnJordan

For being cool enough to read my blog I would like to also throw in a free floor! You can check it out and see the custom normal smoothing in action! Thanks again!

https://www.dropbox.com/s/rslorvtw9xnl1am/FreebieFloor.blend?dl=0

Also… the default cube of the future.

https://www.patreon.com/posts/3032558

UltCube

Final Update Before Drop

HPrompt1

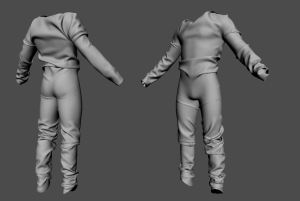
So for this post I wanted to share a sneak peek of the near final upper body before final refinements and then texturing.

It is for the film I was so lucky as to be given an opportunity to be a part of.
https://www.facebook.com/HiraethTheFilm
HiraethWIP3
And the previous sneak…

Of course the final versions will be narrated.

I did a unique type of UVing that worked around the materials that I set up during modelling. I found this to be slightly easier but we will know during the UVing and texturing phase. Also for UVing I have a tutorial that explains my workflow in depth.

I am going to be releasing the full course soon to gumroad which is a direct sequel to my last tutorial course for DPS on using Zbrush/Substance Painter/Blender. This course hopefully will expand on that knowledge and demonstrate my workflow in creating a character that in my opinion is superior to the first in both modelling and execution. I have also been honored to get advice from professionals on design aspect and how to effectively showcase the character even under all of that armor.

LateNightPainting

So recently I discovered this software called Paintstorm that is just amazing. The behavior of paint style behavior on each and every pixel that the brush touches is inspiring and intuitive. I am not a concept artist by any means but the acquisition of this fine program is just the kick I needed to move forward. I definitely recommend going to their site and picking it up!

http://www.paintstormstudio.com/

AJren12

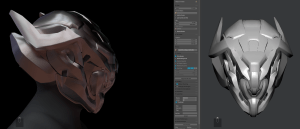
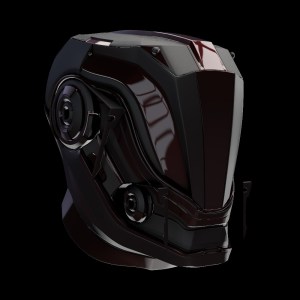
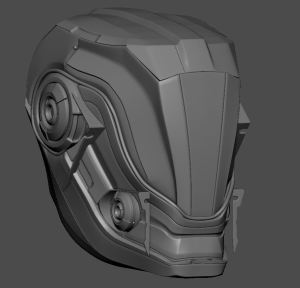
In other news. I have been so lucky as to get mentoring from Anthony Jones on design and art in general. He has taught me so much in a limited time that its staggering so I’ve been hard at work on refining and pushing my style to the next level. At this same time I have also expanded my software collection even more and am even becoming more familiar with fusion 360. It’s definitely a learning adventure finding out how real parts are made. I did this helmet as a test to get better at overlap and making more unique designs. I plan to release the timelapse soon on YouTube after narration but I am already digging the look before refinement.

AJren1

So while I’m yammering on I am also giving away stuff over at my Patreon if you’re interested in supporting me more closely on my journey as an artist. But for the people that are in support I am working night and day to give them inside access, materials, clothes, mech parts, models, etc. So also check that out if you’re interested.
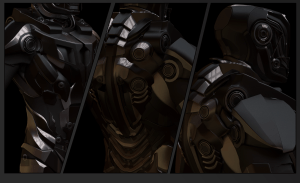
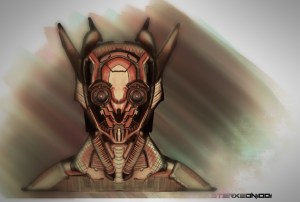
http://www.patreon.com/masterxeon1001

I would like to thank everyone for their continued support. It’s the people that keep me going with this endeavor even as working day and night makes my body hurt haha. But seriously I’ve been hitting the PC extra hard this month so I’ve been quiet these last couple of days but I can’t wait to drop gold on my patrons and silver on my community.

I have also been doing some studies in Substance Designer to get more acquainted and fast but something I have been enjoying lately is Unreal Engine and sbar support.

By installing this plugin for substance support in Unreal you can import just sbars and deal with textures without linearzationi ssues or graph tomfoolery. I have just fallen in love with this since it just goes to show how important substance designer is in one’s pipeline. For another reason to use substance designer let this man explain it.

Really I think this is the future. Having 4-8 maps per asset and multiplied across characters can be a tedius thing to deal with and manage and this workflow is the future in my opinion and is worth a look. Allegorithmic is even having a sale right now for 40% off! So at least try the demo. Its complicated because its awesome.

Also for my patrons I am working on some sbars to throw up as well based off of stylized textures I have been admiring. One of my pastimes is taking classic textures and converting them to full PBR. So patrons, expect this little sbar soon to test in UE, Maya, Marmoset, and Unity! Still getting the grasp on making that epic mold that substance designer is known for making but that’s all for tonight!
substanceTest1

Ugh… I’m still here. Hahah just kidding! The fabulous Skin Vibes has come up with the most marvelous of theme songs for “The Servant” (details coming soon) but I am always impressed with this man’s work. He’s also a Blender user so thats always a plus too!

Part 2 – Go!

So, for the second part of my introduction, let’s continue. I was telling you before, about how I worked in a call center. Once I was only working there, without the 2nd job, I was able to kick my CG development into high gear. On average I would say, the next 3 years after my first, I put in even more time – like 12 to 15 hours a day. It doesn’t matter if you don’t believe me. I am not kidding when I say I’m obsessed. So during the day, I would use horrible PCs to try and get projects started, then go home to a slightly more inferior PC, that would turn off when it got hot.

I felt at this time, that my potential was limited. Here I was overflowing with ideas, however, I had a PC that was an absolute piece of s***. Sometimes the mag safe charger would get loose, and I’d have to fondle it, for sometimes half an hour, to get it back working. It was pathetic and it began to kill my ambitions.

I probably should have mentioned sooner that, before I decided to pursue CG, I had decided to leave my old life behind. It was similar to suicide, except I kept living. I consider myself a 3d ghoul, no longer part of the world of the living at times. I had an old life, overrun by corrosive people, in a small city, with no chance of ever getting better. I saw no future involving happiness, so I made the choice to sacrifice everyone who once knew me, for the chance to clearly pursue my ambition.

I always rant about how the life of the polygon is like being in a cult. I would live in a community, dedicated to the polygon, like a cult. Maybe I’ll make one. We’ll all wear wireframe robes and carry minecraft flames. But I’ll get back to the point here. 3D is to me a complicated and technical career, where outsiders are difficult to cue into the terminology, because they just lack the interest. I tell people I create digital matter, or film and game assets. But a lifestyle like this can’t take distractions. Life will be quick to show you a clearer path, than the one presented in 3d, which I think is invisible. It’s a road you must make. You road will appear before you, as you realize what your vision is. At least I hope so. That’s how I see it, IMO.

So, when I left my hometown, I left all cellphones and life behind. I had no interest in being contacted or being asked to come back. I wanted to just drift into nothingness peacefully, without a show, or even an audience. Even now, I don’t have a phone. Why call me? Phone calls were rarely good news in my old life. I would say, that was about 8 years ago, haha, or maybe 7. I just look at it like another universe. An evil… universe.

In time, people around me in the call center became curious about my 3d activities. My boss showed interest, which got my gears turning about making 3d training material, to ease the learning process. I modeled my life. At work, I made cubicles and modems as 3d models. Because I’m a sarcastically cursed comedian, I blew them up, and made them walk, and just learned the ins and outs, while thinking about a different path than the same old greasy ladder. “Why can’t a company just hire me as an idea-man? I think that’s my calling. Ha ha!” I hear words, then the ether begins materializing ideas.

As time went on, this call center changed, as I mentioned previously. The job became more sales oriented, and therefore they concluded my lack of sales was from using Blender, and not because they were basically forcing us to sell on a complaint line.

“Hello my internet is down.”

“Well here at ______ we have anti-virus software to protect your PC.”

“Does that fix my internet?”

“No.”

“Well shove that up your a**!”

After being frustrated with both ends of the job, it began to wear on me, as customers were becoming more and more unhappy with our service quality. Not related to tech support, who just try to figure out what happened. It came to the point, where most people who called wanted to kill us. And in this time frame, they tried to take Blender from my life.

I couldn’t let this happen. Ha ha! I tried to fight it. However, my supervisor literally made me sit at his desk, and watched me like a timeout teen. I stood for it for a bit, but I couldn’t let myself be singled out, while people were dropping like flies around me. So, I began working away from the other workers, in the corner, and worked harder on selling, and even harder on Blender. I think at one point,
I made it clear to them, that the only thing making this job bearable was using 3d.

Don’t get me wrong. Whatever program I could run off of a flash drive, for 2+ years, and make 3d content was fine by me. It could have been maya, max, modo, or something else. But realistically, they would have sucked.

I began making friends at the call center and getting more acquainted with the town. I met a guy who is now what I call my healer. He is heavily into herbal restoration and is a healing soul. After explaining to him my situation, with poor PCs everywhere I looked, he did something impossible. He invested in a brand new PC for me. The PC I got was to my specs and was just amazing. I’ll forever be thankful for the sacrifice, since I was unable to afford it myself. He even went an additional mile, and got me the graphics card Cycles required. He allowed a payment plan, and restored my faith in myself and in my responsibility to make a mark, with that gesture alone. I learned how being a helping hand can be the push people need to actually get off their bums and do stuff.

I cannot overemphasize how, this one act of kindness changed my outlook on CG. I realized that, if people believed in my potential, then the means to express it would become clear on my path.
After all of this, I also got offered the chance to work at home. So now, I was working from home and doing Blender, no longer locked down taking DSL phone calls. I had the ultimate setup – a little monitor for work, and huge monitor for 3d. This was a true representation of where my priorities lie. I continued working, and getting better with this new PC, and I was unstoppable. I was moving units at work, and making nicer and nicer models on the 2nd screen, and all of it was possible due to one donation.

I have tried to take that same spirit with me into 3d, to give back to those walking the same path. Maybe someone like me, with all odds against him, will find his hope through something I did or said. It’s the mark I feel I’ll leave in this world. Also, by working from home, I think something snapped into place mentally. I just couldn’t be a drone anymore. I became aware that my calls weren’t being monitored hard enough, so I just became myself with customers on the phone, and it quickly became a much more pleasant experience. I didn’t read stupid scripts anymore, or say canned lines. I decided that I would try to develop easier dialogue, to get people to the point quicker, instead of so many counter questions to every step. That part isn’t relevant, but there were other things that happened during this time that are.

I now had a girlfriend, which was a very important step, since companionship and stability are important to surviving in this world. As of this writing, we’ve been together for about 5 years or something, but I couldn’t imagine life without her. Funny story, there was a time when I was using a Bamboo, but had a Intuos 3 with no pen. The pen was $70, and I was unable to afford it because finances were that tight. She bought me the pen, which I used for almost this entire time. In fact, that tablet has sentimental value to me, because it was a gift from her. I remember the note on the box saying, that she believed in me and supported my dreams. To this day, that box sits by what I call X3(my current PC), the one mentioned before was X2, and the Mac was X1. Being believed in, was what drove me forward, and for the first time, I had people around who supported my unhealthy obsession with 3d. With the new PC, I was elated. I decided that not sleeping would help me achieve greatness, and I blended even harder. I mean, 6am through work, until 2am the next morning. It probably made me crazier. Ha ha!

Around this time also, I began getting involved with the online artist community more. Before, I just posted videos, went back to work, watched tutorials, and answered hate mail. I got so much hate mail when I first started! I saw a show on the net, called “Meshed Up”, and was blown away. So many cool people being funny and hanging out. I realized that the path to the next level lied in social interaction. After convincing them I was cool, I was allowed access to a very unique group of talented people, and this is where I went from making stuff, to making art. These people are still my closest friends to this day, and that hangout is where I lurk. These people have grown with me, worked with me, and helped me develop into a more design capable being. I learned the true nature of a team. I also got my first job through social networking.

I have always been obsessed with being fast, and basically showing everyone my worth through sheer talent of tool handling, and that played a large role in building my reputation and perceived worth. My goal was to be the ultimate user. If there was a leader-board, I had to be number 1. I’d give my life for it. That was my attitude, and personally, I think that’s what connected me with my career at Dead Panic Studios, the studio that turned me from amateur to professional. DPS assigned me my rate and illuminated my path. The man running the organization shared the same ambition, and as a part of that team, I felt we began the expansion of the company from the ground up. When it comes to that job, there’s a part 1, and a part 2, but to keep it simple I’ll stick with part 1. This company was the ultimate playground: I could work; I could discuss ideas; and logic would prevail for the most part. We were ambitious as heck, taking on projects past our meager numbers, and attempting to crush with impunity. I personally feel, this was the most important part of my 3d journey because it taught me so much. I was able to see a dream grow into something more. As our team expanded, the membrane that held everyone together was stretched thin. Long story short, I’m no longer there due to personal disagreements. However, I do not regret any of it at all. Continuing on.

I have always wanted to be both an entertainer and an educator. I would like to light the paths of artistic improvement, because I don’t think it’s entirely clear how the CG field works. We talk about industry standards required by companies who won’t hire because of lack of experience. So you clutter yourself down with crap, official-ware with no soul, and end up producing the same thing as your buddy next to you. Why even do that?! There is an alternate path, however you have to grind eternally. In this CG world, I see a backwards model, of selling the secrets of the trade to the new meat, who is trying to learn the secrets of the trade. In this confusion of paywalls and locked information, there is a disconnect between the user and their very community. I produce a lot of content and it’s mainly for education, however I also have a more nefarious purpose. To eat! Bwahaha! However, I feel that I can produce richer content than the usual bear. Why do we present 3d like a cooking show? Why can’t that show be “Who’s Line is It Anyway”? Sorry, late nights make me random. In this time of uncertainty, all nights are late nights. Since I left my last job, my survival has been in the hands of my own inventions. I told everyone else this is my “burning the boats”, there is no surrender. No chains will be placed upon me because I don’t need guidance. I have my vision, and now I pander to my public, to support me in becoming successful.

Before my 2nd life began, I worked in the oilfields and in the industrial sector. Fumes, gases, sparks and unsafe conditions are the story of my life. In a time where I thought I could just do what I wanted with no consequence. Upon realization of what my last job in my hometown ensured, I left a oilfield career of 5 years and walked away from a life and career that was eating my body and soul inside and out. The life of a servant also doesn’t include insurance. Life for me is but a spark, but if I can make a fire within you, then my job is done. There is no need to dwell on the past. Once you walk the road of the polygon, life is over. Its like Gantz, with the ball that people see which gives them instructions. In the field of 3d, there is no time for sorrow. The overtaken artists that fall to sorrow are no longer progressing, and therefore are not competition anymore. My only response to failure is resolve. When I accept defeat, so will my body. I feel that this competition of 3d is a deeply spiritual journey, which has taught me to ask more interesting questions. Not so much, “What does a car look like?” but, “Where in my mind, did I get the perception that a car looks like this?” I’ve had to reanalyze my understanding of this world of shapes and moods, and it has taken me into a sub-world of 3d, to truly the root of imagination. And this is exactly where I want to be, producing art not simply assets. That’s the first step to becoming unique. You aren’t a construction monkey. Don’t make a chair. Make your chair!

Before I close, I would like to add, that paywalls aren’t something I agree with entirely, but I also don’t agree with starving. I try not to make paywalls because a servant can’t afford obstacles. However, I do survive in part, thanks to the kindness of those who admire and drive me forward, with positivity and donations. You must be willing to invest in your success. This world values money above all, and therefore sinking it into your studies (not college), ensures you truly aim to win. A loser will not invest in himself because he knows it’s a surefire loss. It’s a double win if you’re fortunate enough to make a difference in the life someone who is struggling in the cg industry, by buying a product to support him or her. If I make it to the top, I’ll spend the rest of my modified life to help as many over the wall as possible.

Before I close this post, I would like to talk about some milestones in my 3d development. I told you about the cube art I did when I was an “amateur loser”.

Milestone 1: getting started

I did this video of ethernet cables fighting

And this is my first concept of Deux. I am still in shock. I once thought this was acceptable. Haha!

Cubicle Cube

My very first tutorial(or at least to me). Ducking Up. X1 days.
One day I’ll remake it and make the most realistic mallard ever.

Milestone 2: Goodbye Cubes.

Cubes are great and all but you won’t get hired with them. No one will ever admire a cube. Its too easy to make a cube, so much so, that it is an insult to leave it in the inferior 8-sided shape.

I was still a newb when making these, but I still love them.

I’m also obsessed with music videos – it’s part of my dream .

Milestone 3: Expressing A Vision

Deux version 2: https://www.youtube.com/watch?v=b-Hf-8UEmDI
Deux version 3(d2m): https://www.youtube.com/watch?v=wXLYuKbV0rc
The real Deux Version 3: https://www.youtube.com/watch?v=DHERGkfS9Fk

Over the course of learning 3d, I reattempted the same visions over and over to refine them. I found that as I worked with finer and finer artists, and teamed up with them, my own Sharingan was trained to be sharper and sharper. I hope those last three examples show just how refined a thought can become with progressive 3d understanding. I love them all. The first Deux will be on the key chain of the final Deux.

So that wraps up part 2. I was rambling a bit, so I think I’ll cut it this article short. Untill tomorrow!